Why I built a camera rig for YouTube

For the longest time I considered myself a “run and gun” video shooter. Most of my videography was focused on Travel or Kiting, so I was filming in remote locations with light minimal gear. I didn’t want gimbals, and I didn’t want to carry tripods, and I avoided anything that could potentially complicate things and ruin a shot.
As I started to shoot more YouTube videos, talking head A-roll shots became more and more important. I made the initial mistake of assuming A-roll would be easier to shoot because it’s a static shot, but it actually turns out to be more complicated. One reason is that you’re not actually behind the camera, so you need a way to frame the shot, set focus, hit record from in front of the camera.
This extra complexity lead to me making mistakes and loosing footage, which is basically the most painful thing you can experience as a video shooter. I’d be in a rush, and I’d miss that my particular shot wasn’t in focus. I’d accidentally set the audio levels too high, or forget to do a custom white balance.
To streamline the checklist of things I needed to do, and to make it all accessible from in front of the camera, i realized I needed more accessories on my camera, and I needed a rig to make it all portable.
Here was my thought process for building that rig:
Power
Panasonic batteries are definitely not the worst batteries out there. One DMW-BLF19 battery usually has no problem lasting the duration of my average A-roll shoot. The issue is me, I don’t consistently remember to charge up all my batteries.
That’s where having an oversized power bank, or the ability to plug into a wall really changes things. I didn’t want to use vmount batteries for two reasons 1) they are a funky shape that doesn’t travel well 2) I often carry a power bank for powering my laptop, and that's a better form factor.
So ultimately I ended up choosing this Anker powerbank because it could power everything else I attached to the rig, plus the camera.
Monitor
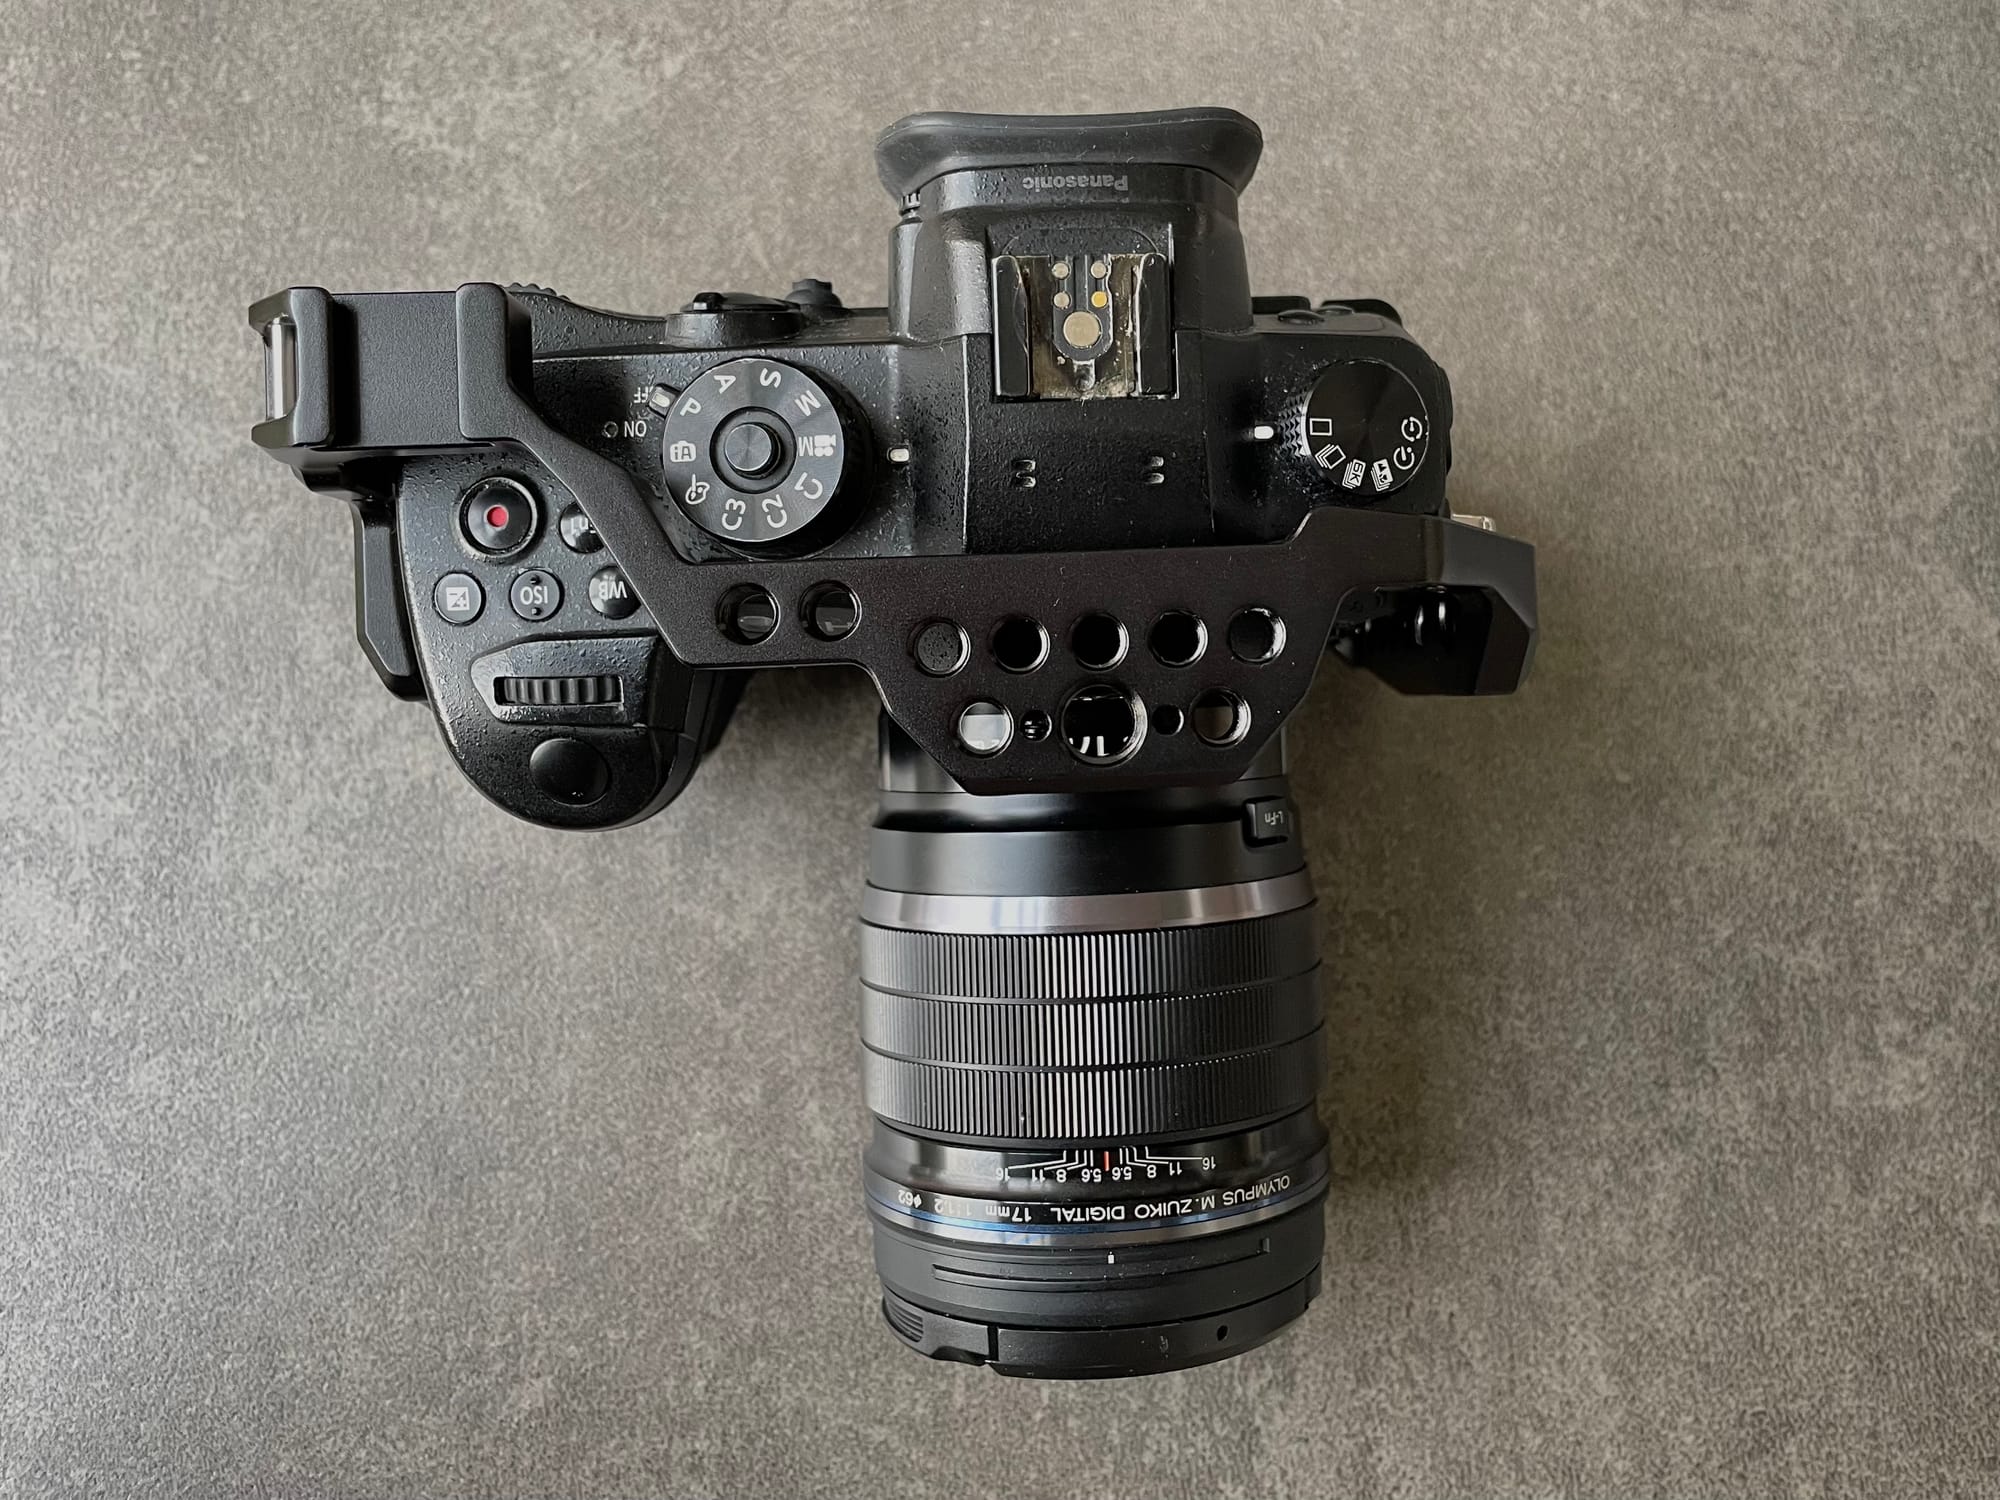
The LCD on the Panasonic GH5 is decent, and it rotates to be viewed from the front. The issue is that it's a pretty small screen, so once you get more than a few feet a way, it becomes very hard to check focus.
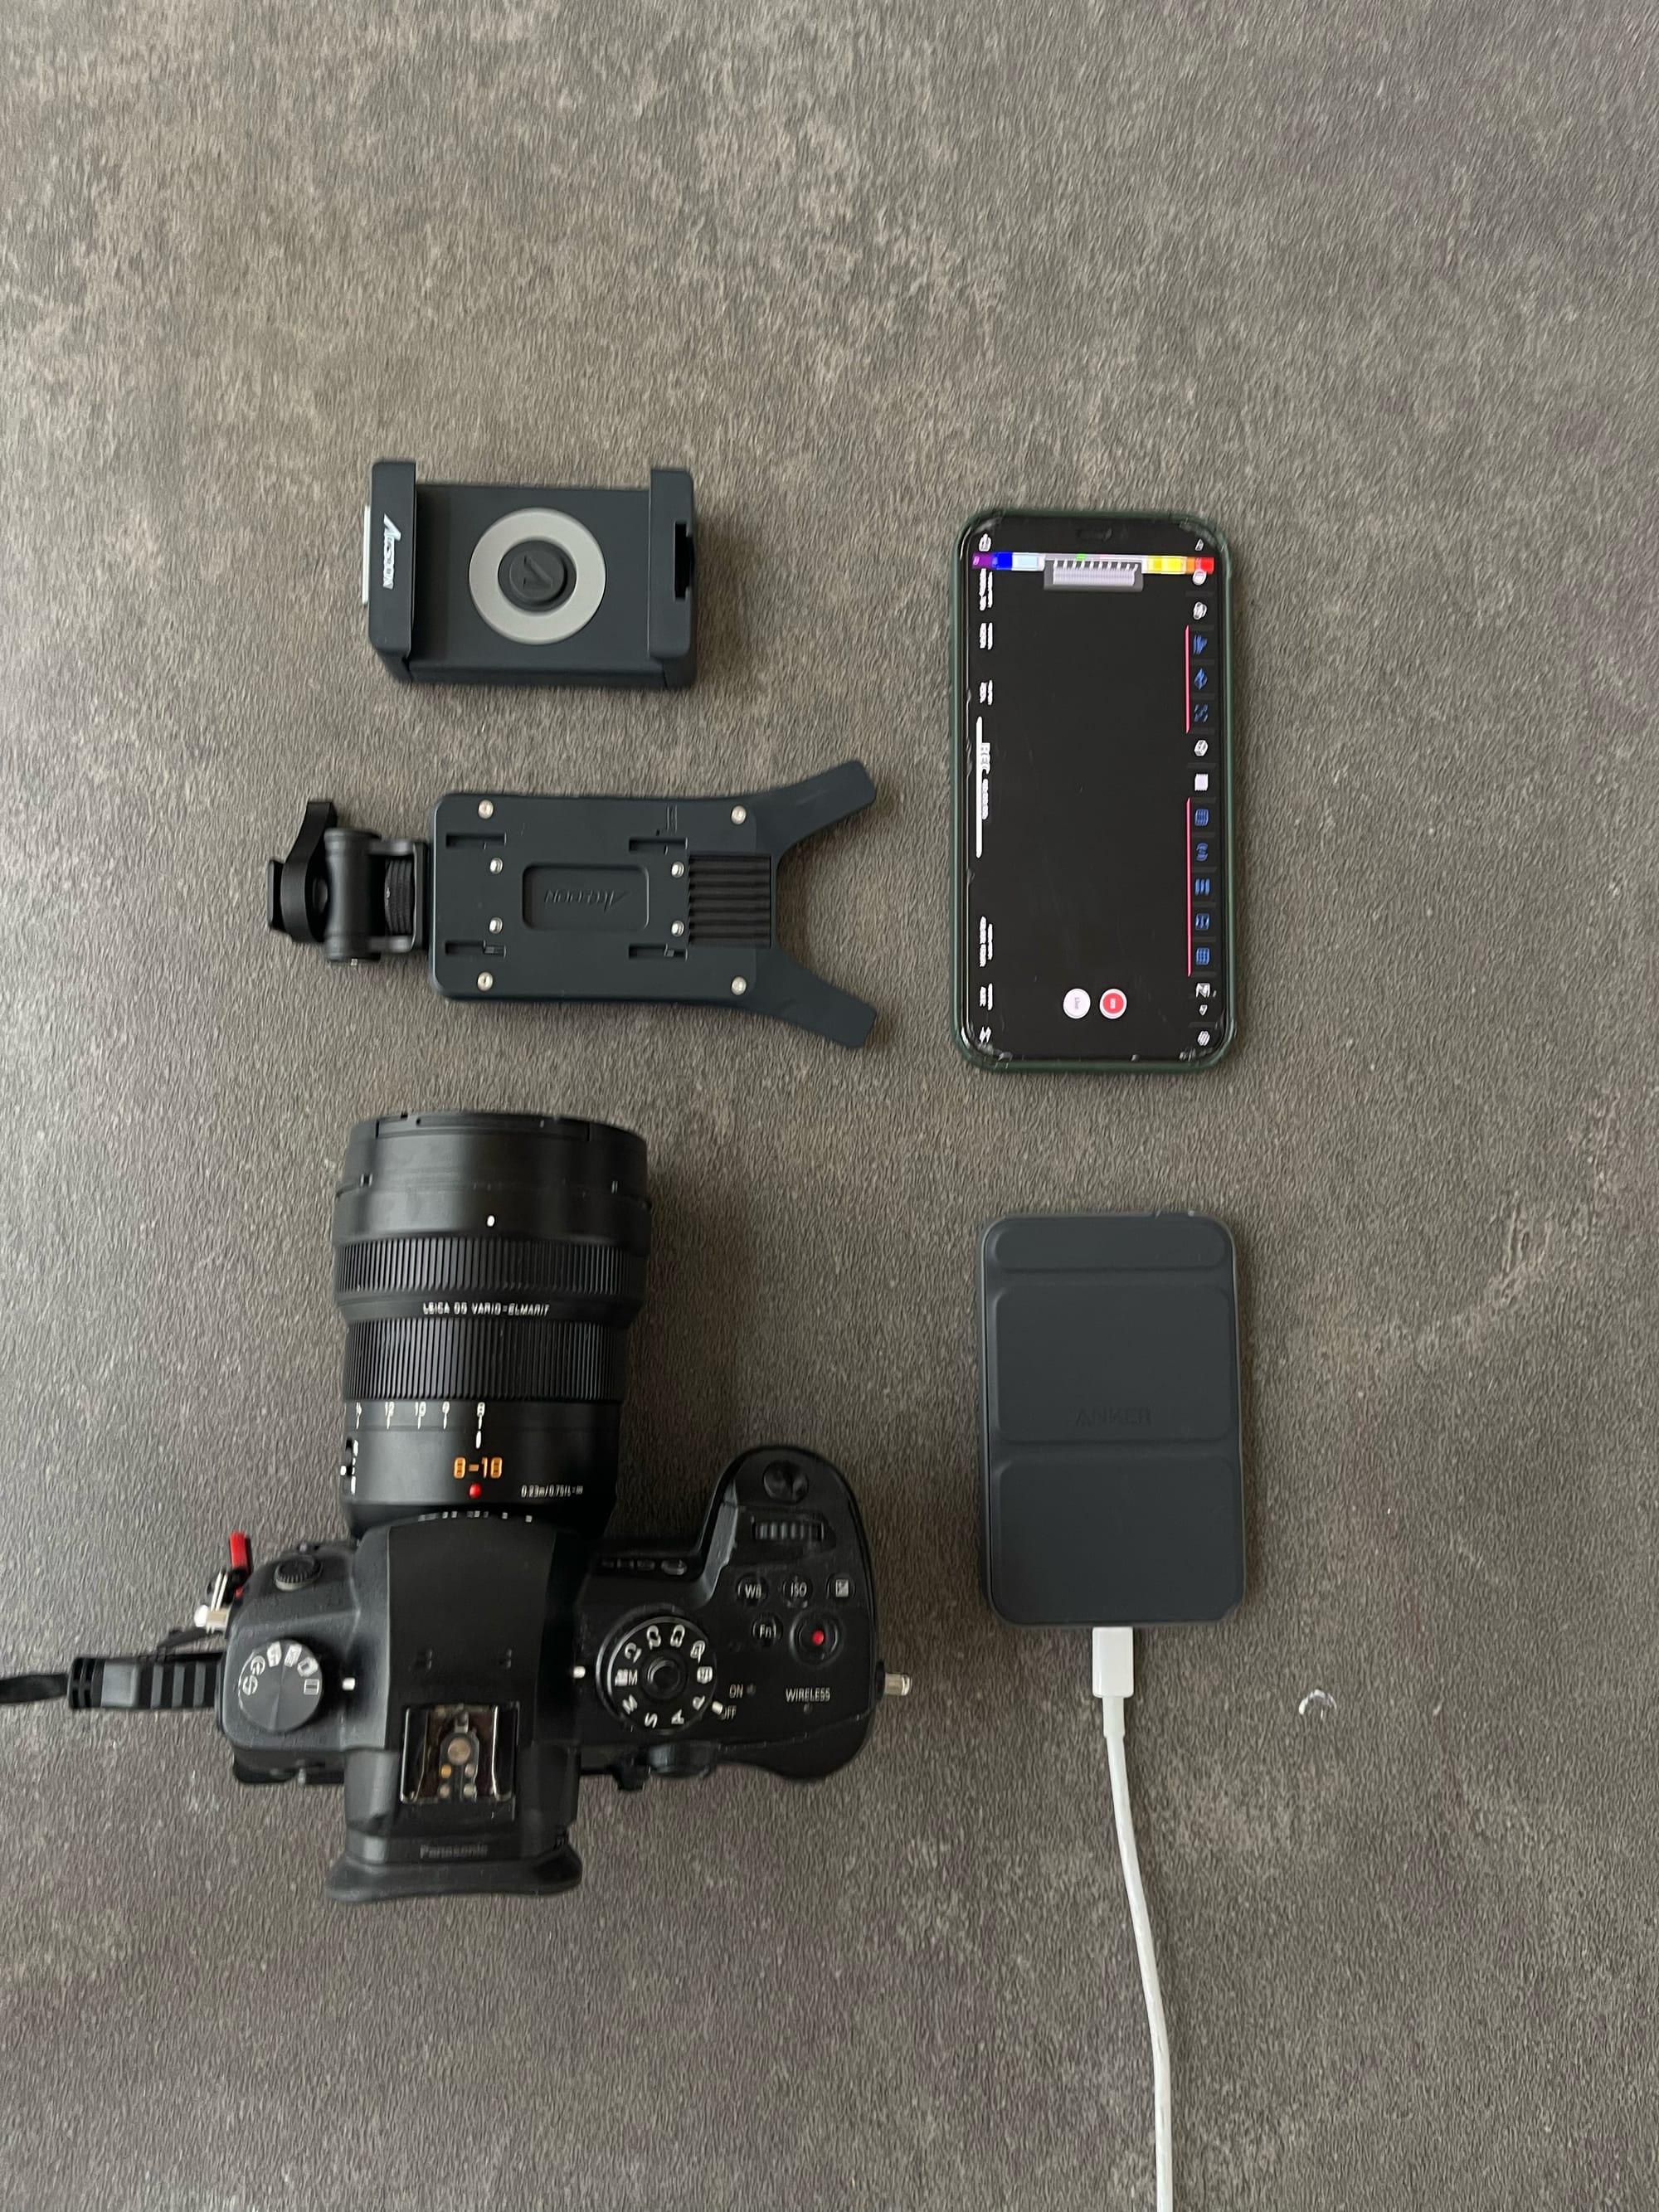
The natural solution would be an external monitor, but most of those come in 5inch or 7inch sizes, which still don’t give you much range from the camera. I also didn’t want to have to carry another piece of gear, ideally I could use a screen that I have with me all the time, and iPhone, iPad, or laptop.
Enter the Accssoon Nano. This device lets you broadcast the image wirelessly from your camera to an 4 iOS or Android devices. Since I’m mostly shooting footage of me standing still, latency didn’t really matter.
Focus
Now that I could see my image, and tell that I wasn’t in focus, I needed a way to focus. The Accssoon Nano monitor only passes an image to a device like and iPad, it doesn’t let you set focus or push record, so I was stuck.
For a while I just struggled. I tried to put something where my head would be and focus on that. Mistakes were made, shots were ruined.
Then I came across this video that proposed the simplest solution ever (can’t believe I didn’t think about it). A remote shutter device. This small device solved both problems, I could set focus with a half shutter price, and start recording with a full shutter press from a good distance away from the camera.
Audio
As a solo shooter, you’re doing everything yourself, and it’s a lot of simple small things to remember. Audio always seems to be where I drop the ball, I primarily use the DJI Wireless Mic (which is really good), but I need something a bit more fail proof. I’ve had situations where I get real excited and speak louder than anticipated and improperly set the gain levels, and end up running the audio.
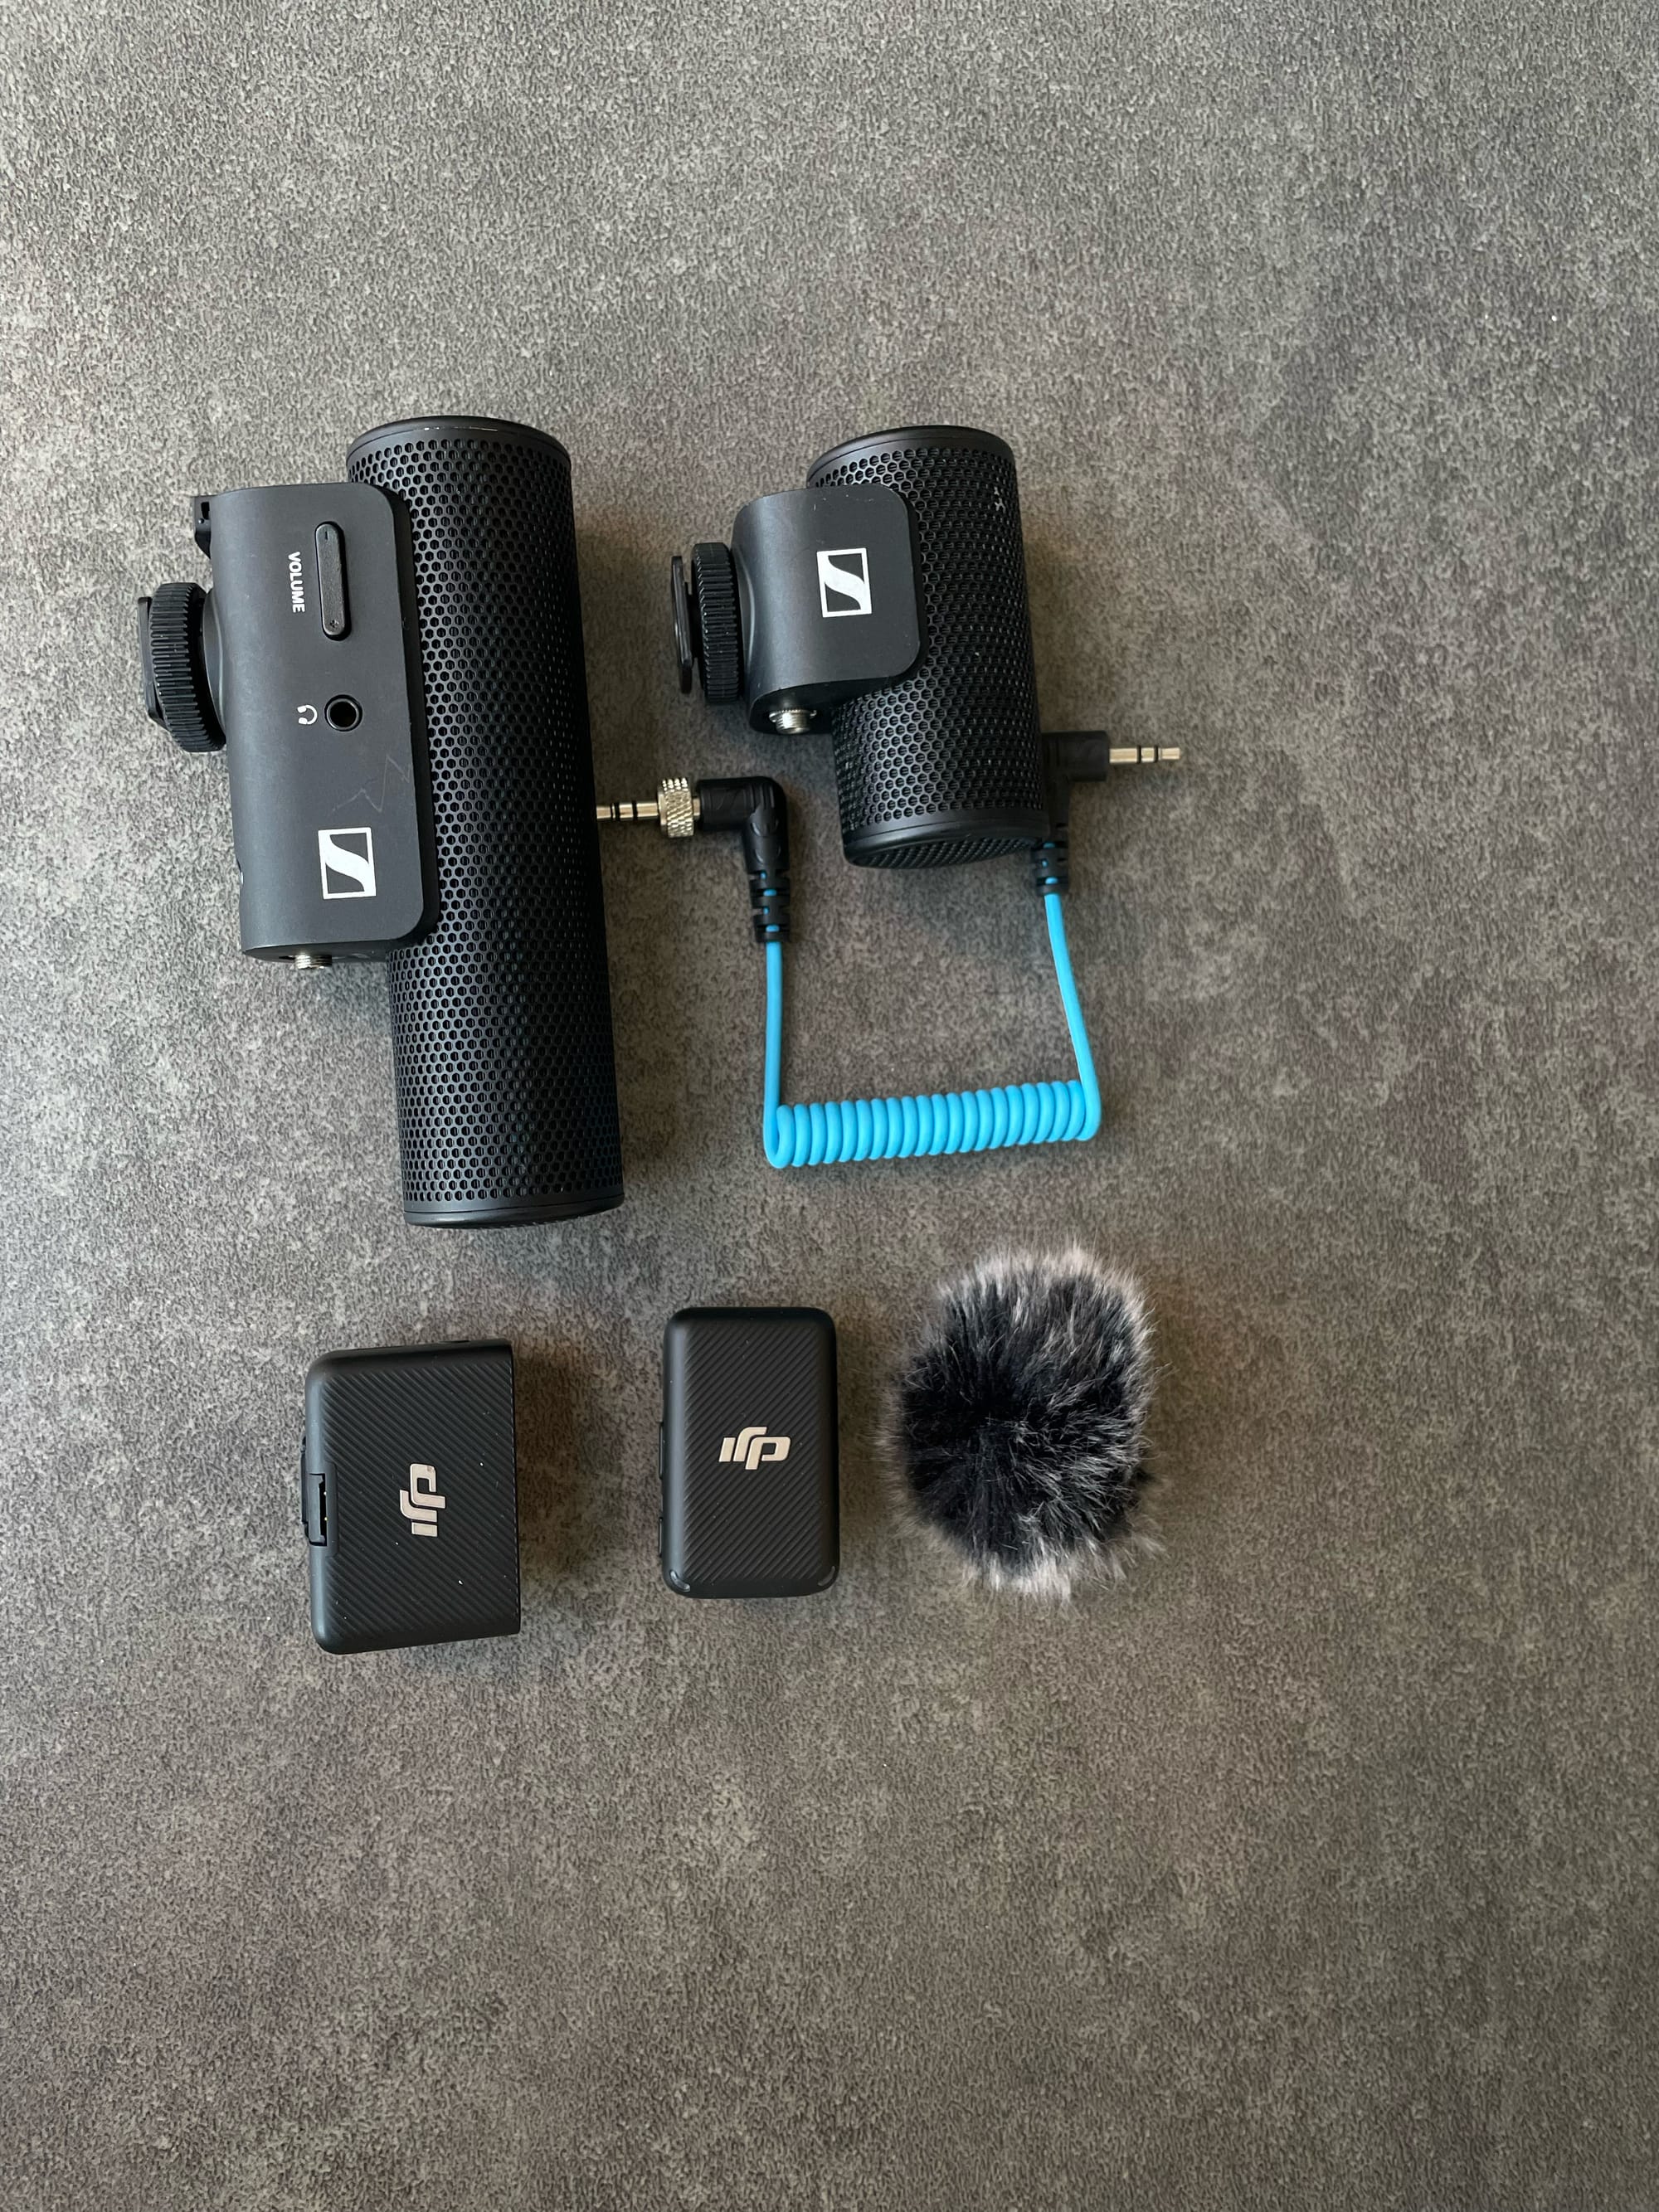
I tried looking for 32-bit recorders so that I could not have to think about setting gain correctly… but there were no good options out at the time. I tried the Zoom f2, but it had a bad UI and horrible build quality.
Where I landed was using the DJI wireless mic setup, and then a splitter to allow me to record a backup track with a shotgun microphone. I got the idea from this old Caleb Pike video:
Portability / Setup time
Last, I didn’t want this whole setup to fixed in one place with no ability to move it. I’d like to be able to move it from my desk to other locations where I commonly shoot. Enter the Manfrotto RC2 quick release plates. I’ve got the baseplates on my tripods and desk mounted light stands. If I use these for the rig itself, the whole setup will be quick to move and quick to mount.
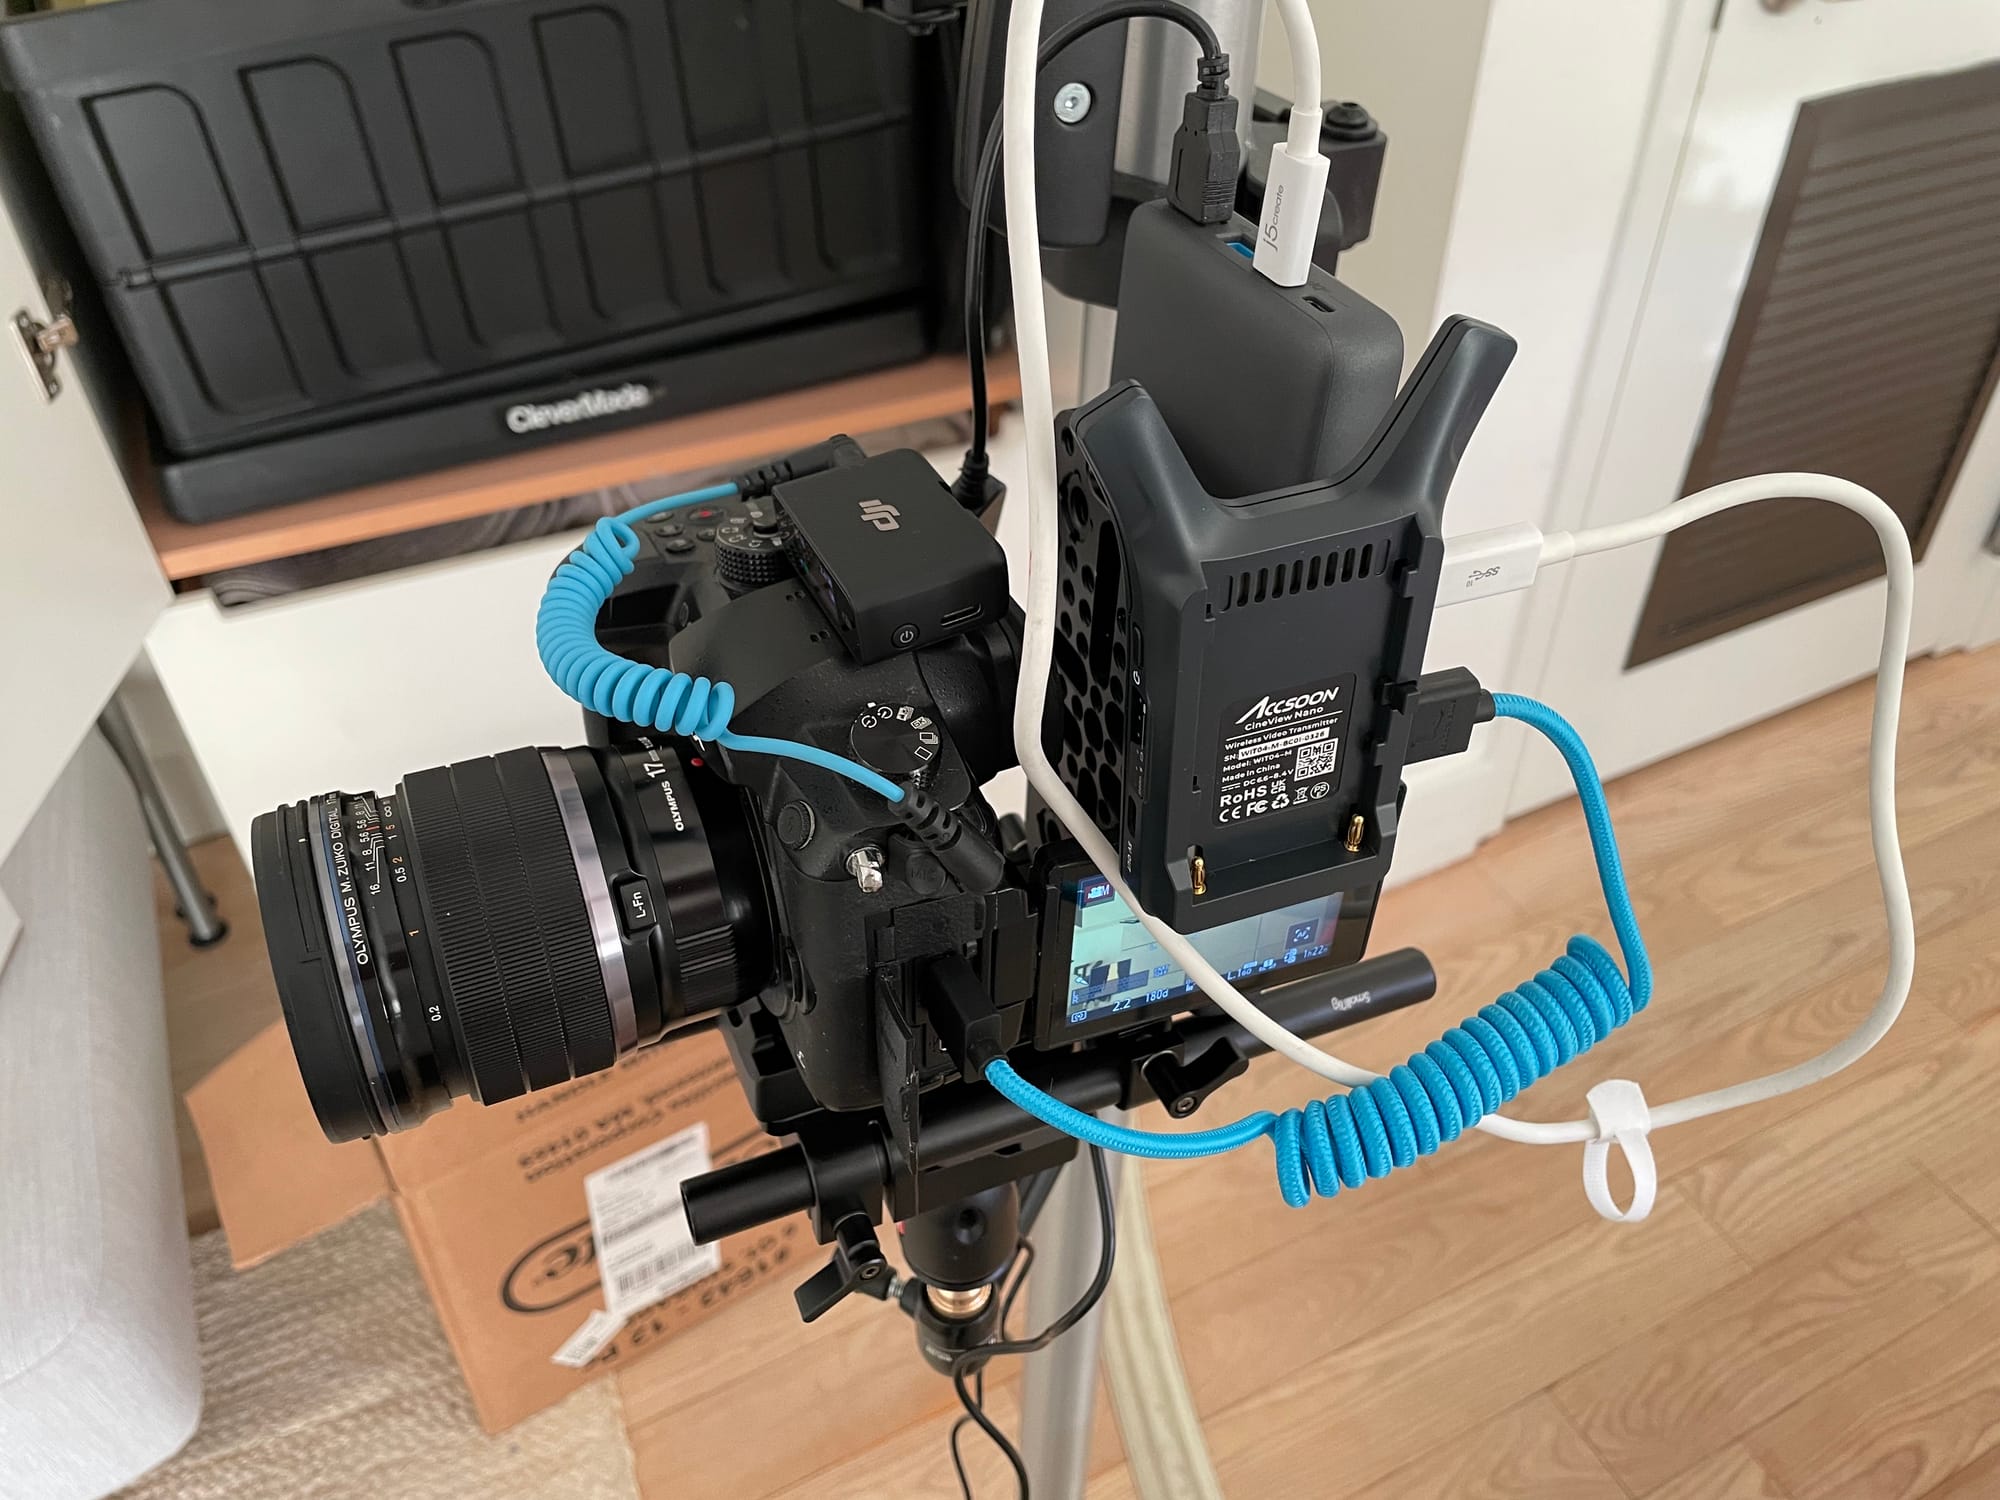
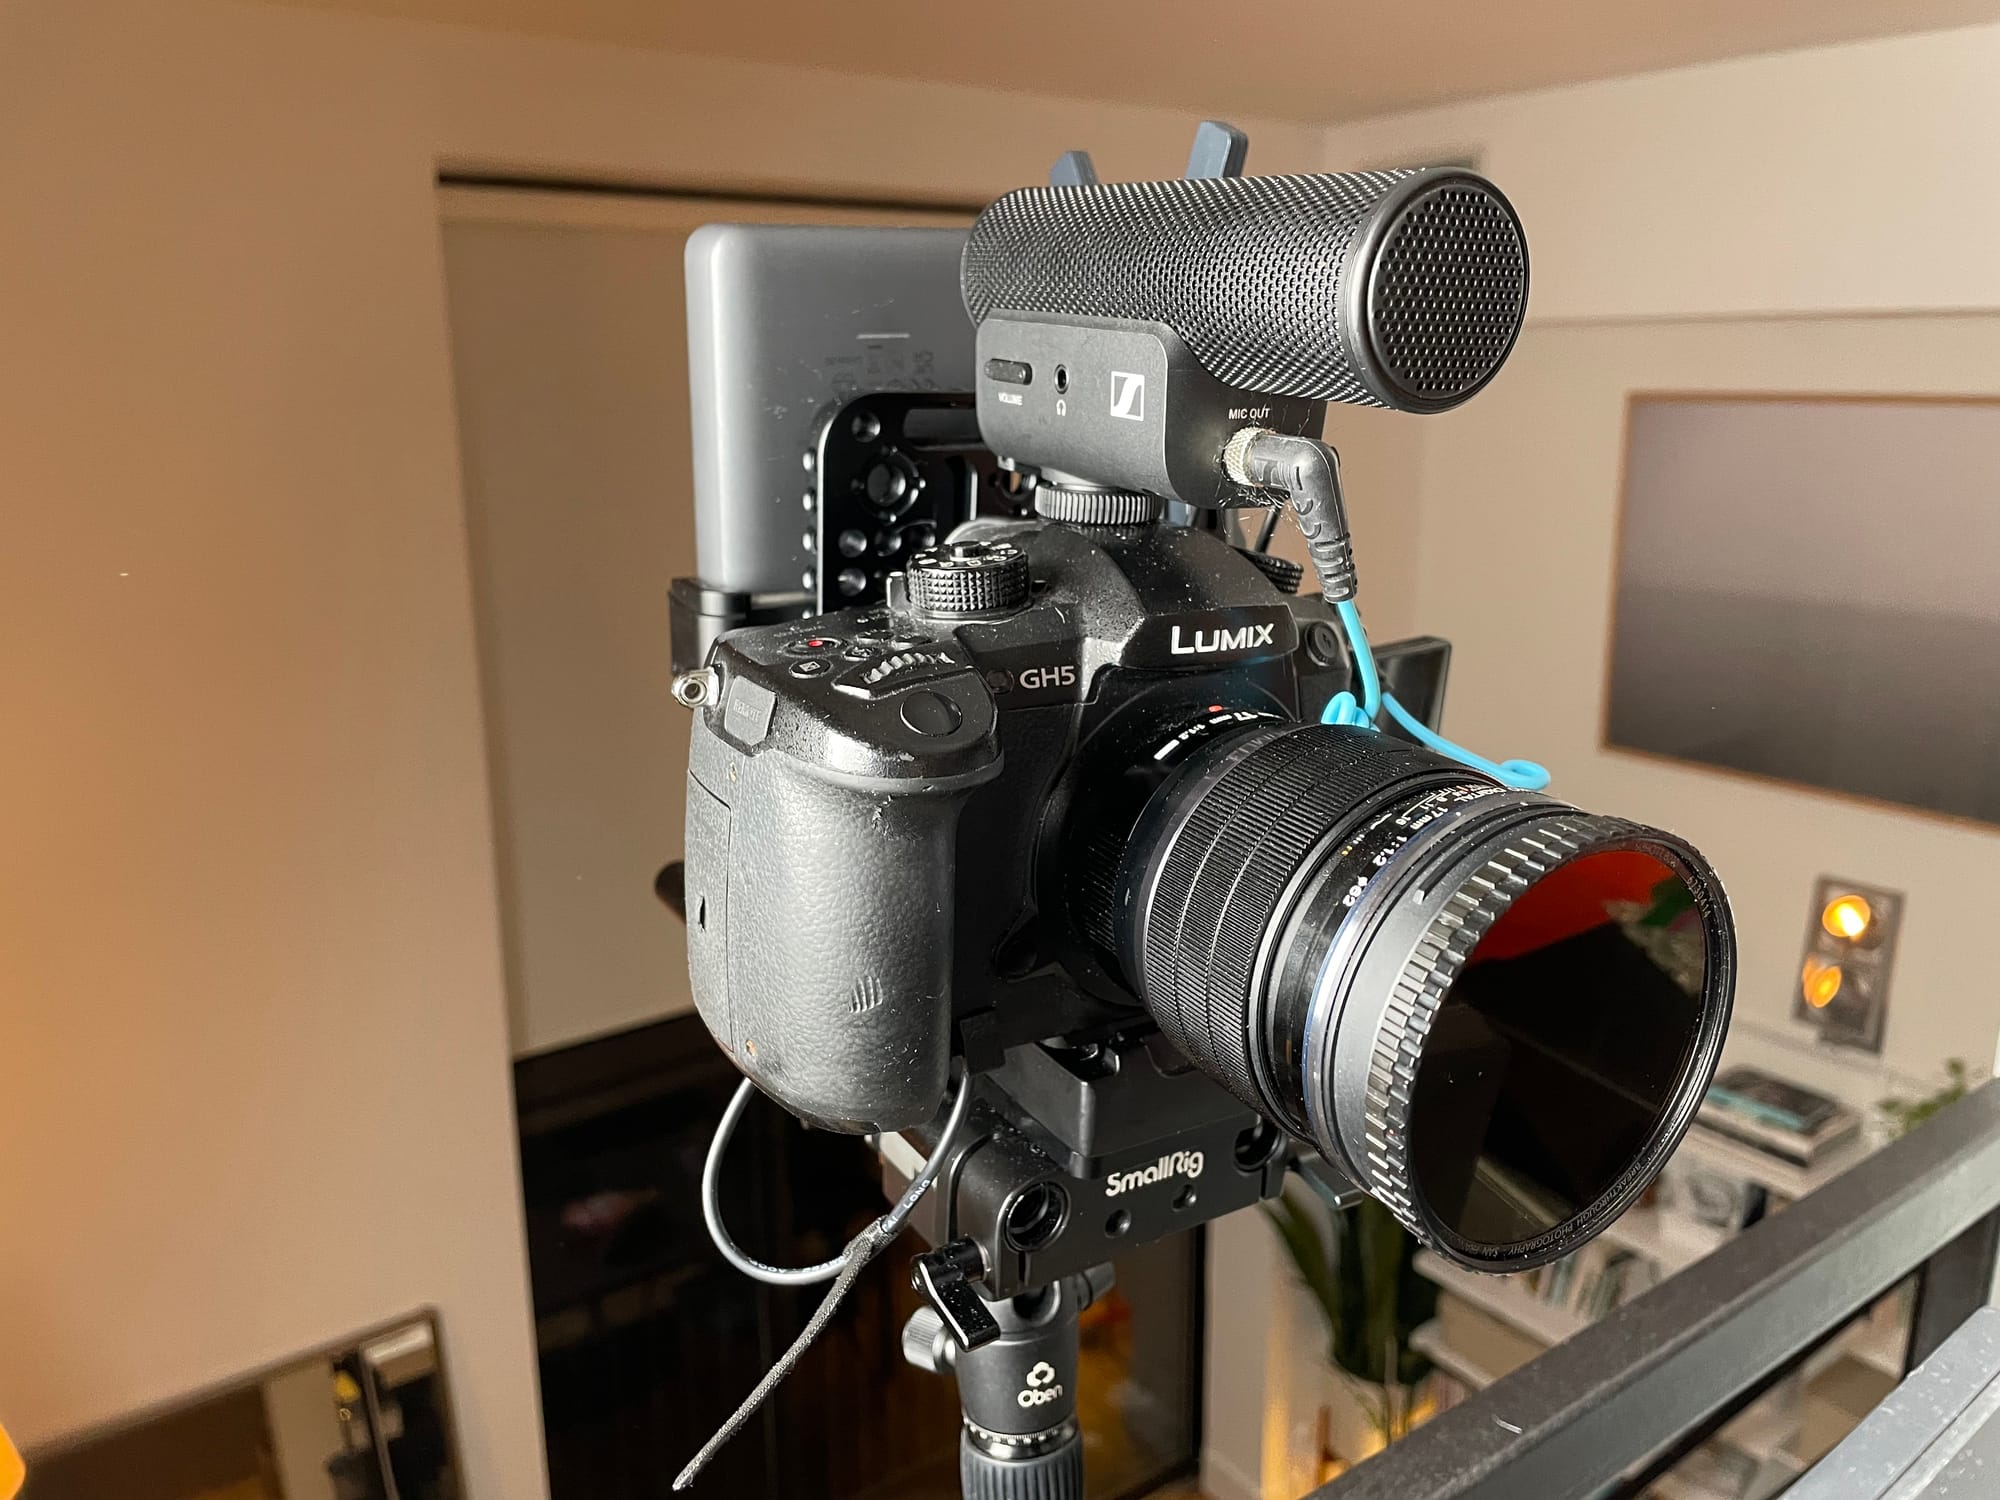
The Rig
Fair warning, I know this thing looks ridiculous. It doesn’t look professional, and it certainly doesn’t look cool, but it gets the job done.
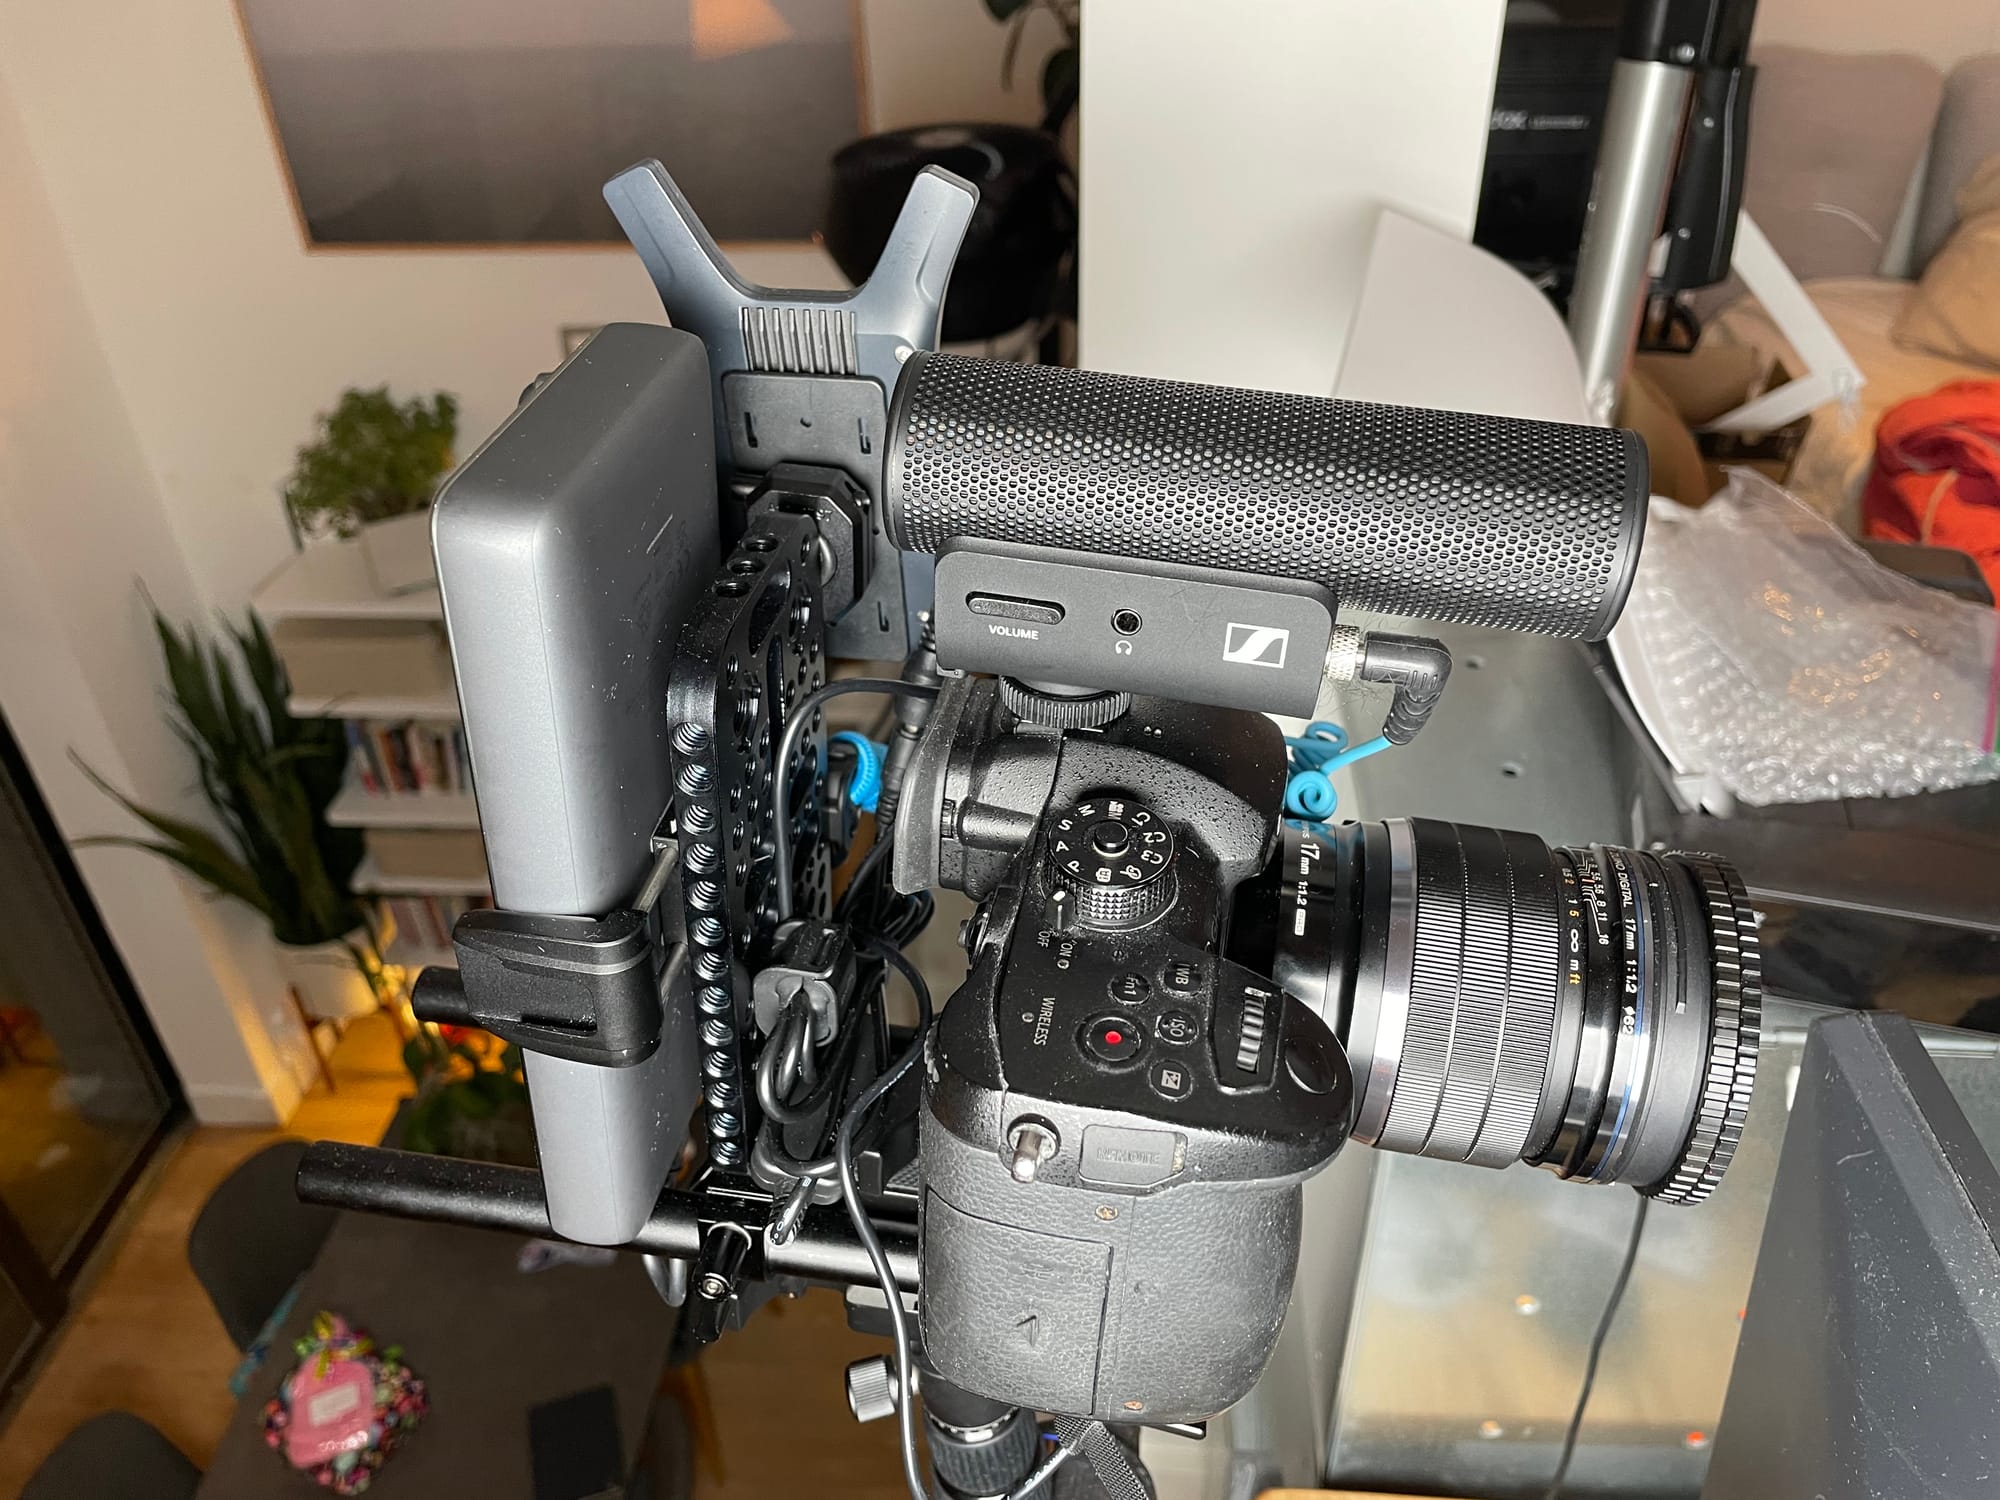
I ruled out using a cage on my camera because I love the way the camera feels in my hand when I’m shooting outside of my YouTube studio. The cage makes the camera less ergonomic, and it’ll probably rust given how much I’m filming while in or around salt water kitesurfing.
That left me wanting to use rails and base plate that could take an RC2 quick release plate. This allowed me to snap the camera into the rig, and quickly retrieve if if I wanted to shoot handheld again. On the rails I used a large baseplate that I could position behind the camera and attach all the accessories to ( Accssoon, Battery, Remote Shutter Trigger, etc)
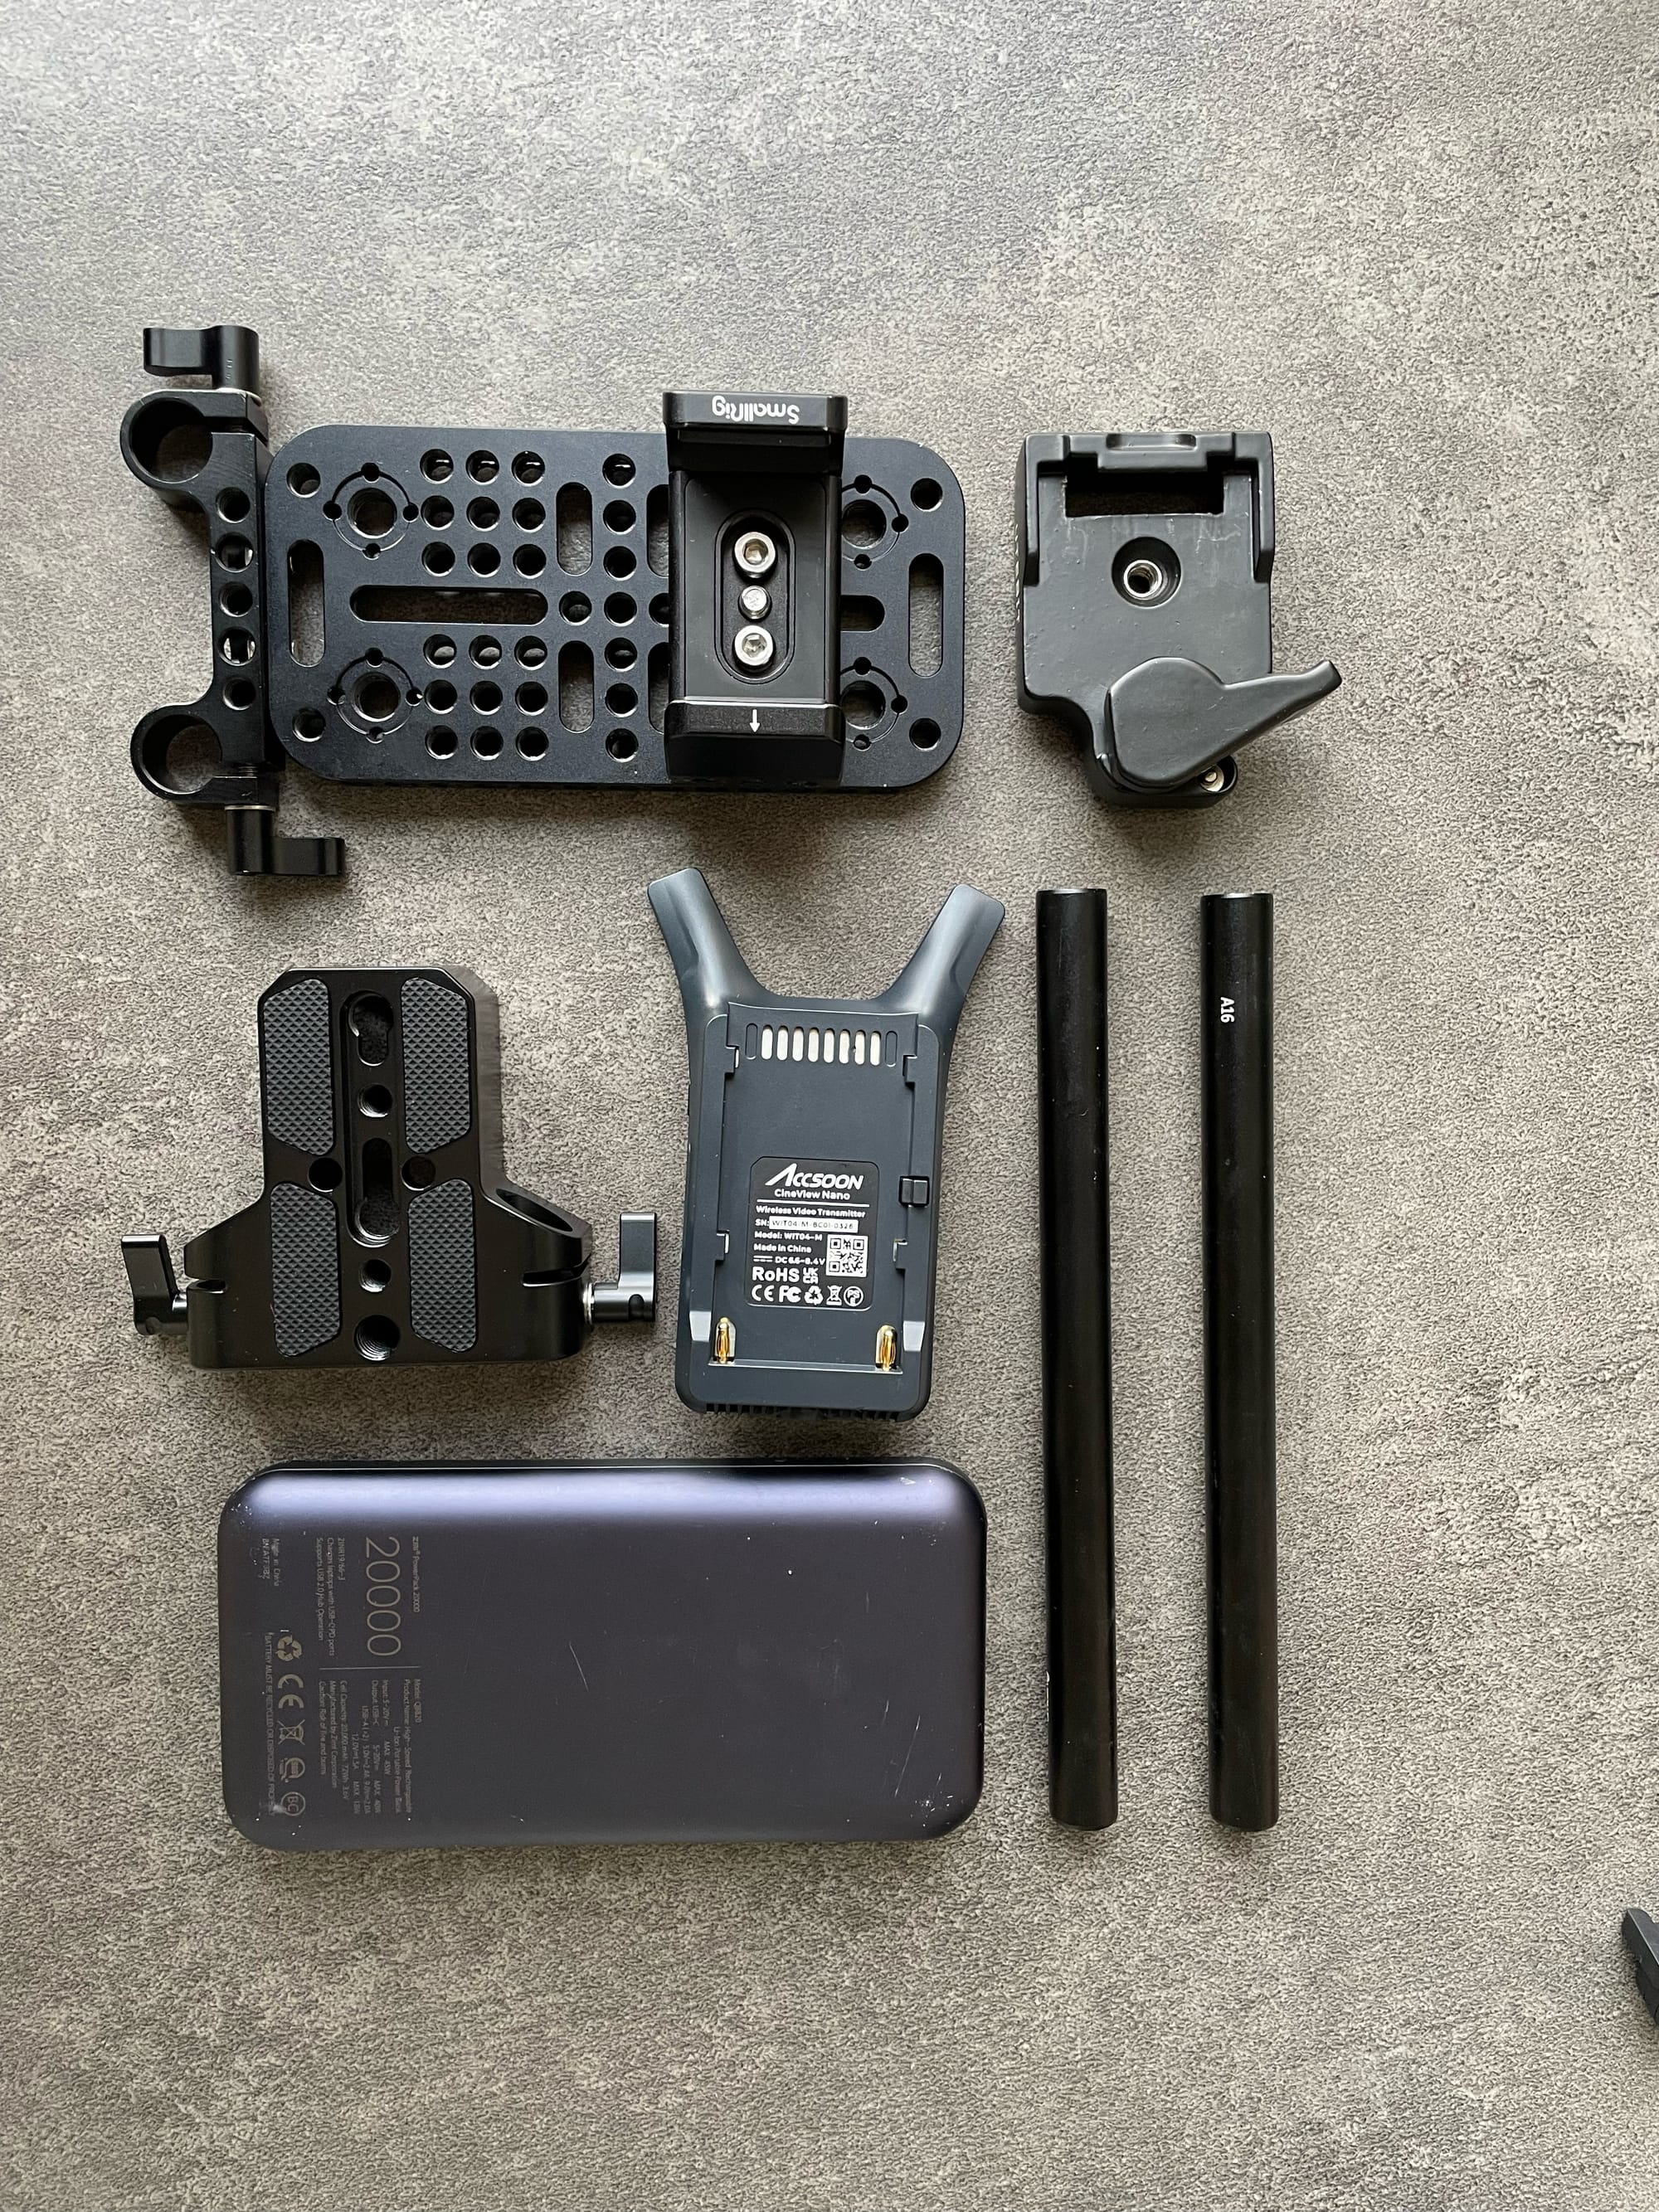
Here’s the parts list:
- Smallrig Rails baseplate https://a.co/d/9Nx8BJ5
- Smallrig 8 inch rails https://a.co/d/doo2CSJ
- Niceyrig Cheese Plate https://a.co/d/6CWVM89
- Camvate Riser plate https://a.co/d/fESK1LQ
- Anker Powerbank https://a.co/d/i1iQEPB
- Battery Clamp https://a.co/d/bJuTTw9
- Smallrig Cold Shoe https://a.co/d/c1OhGsY
- Smallrig Cable Clamps https://a.co/d/0FKUpGK
- RC2 Quick Release Plate https://a.co/d/iuJeYaz
So far I’m happy with the setup. It’s freeing up my mind from having to think about a lot of tiny little details that I could miss, and allowing me to focus more on the being on camera and the talking. In an ideal world, I’d like to reduce the amount of comments on the right to reduce the clutter and complexity of the rats nest. A newer camera with a more modern ios app would help get rid of components like the remote shutter trigger.