I Built a Mini Homelab media server rack
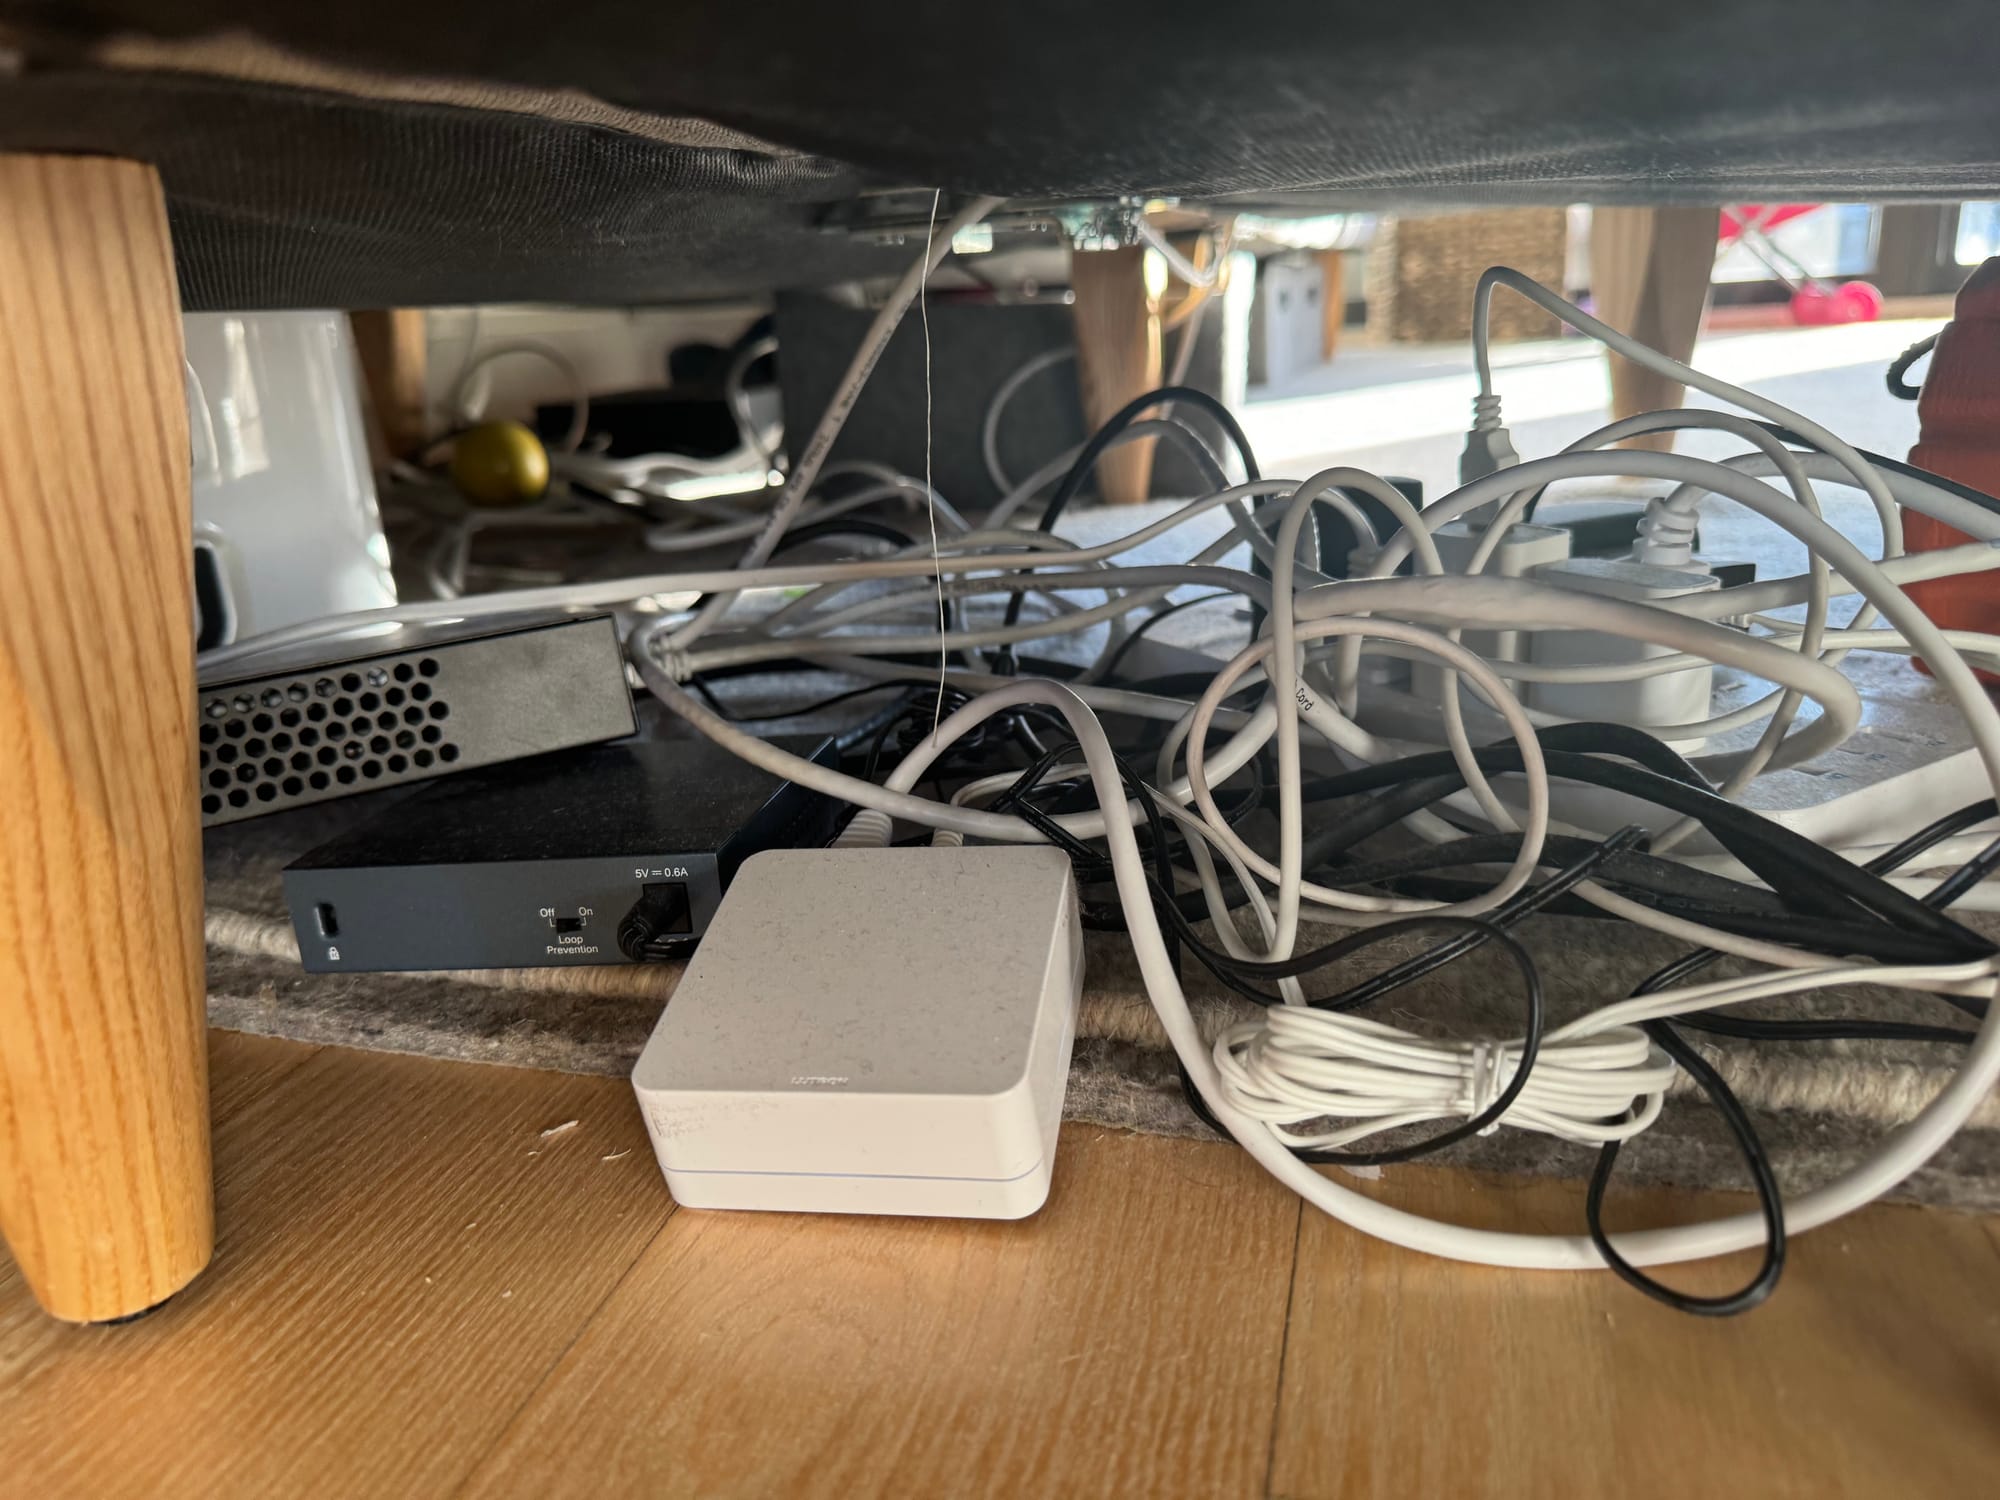
Between my Hue, Lutron, Starling home hubs, and my Apple TV, ethernet switches, and hdmi switches…. I’ve got a real life rat’s nest hanging out below my sofa. I’ve also got a Zimablade, GMK mini pc, Raspberry Pi, and two mac minis that need to be centralized in a single place that makes them easier to manage.
Assessing Solutions
Initially, I thought I needed a media cabinet. I looked at a variety of Ikea cabinets, and then I looked at different ways to modify them with some sort of cooling. Then I looked at Ikea some hacks, but ultimately nothing fit under my couch, and nothing felt like it would give me the right amount of organization.
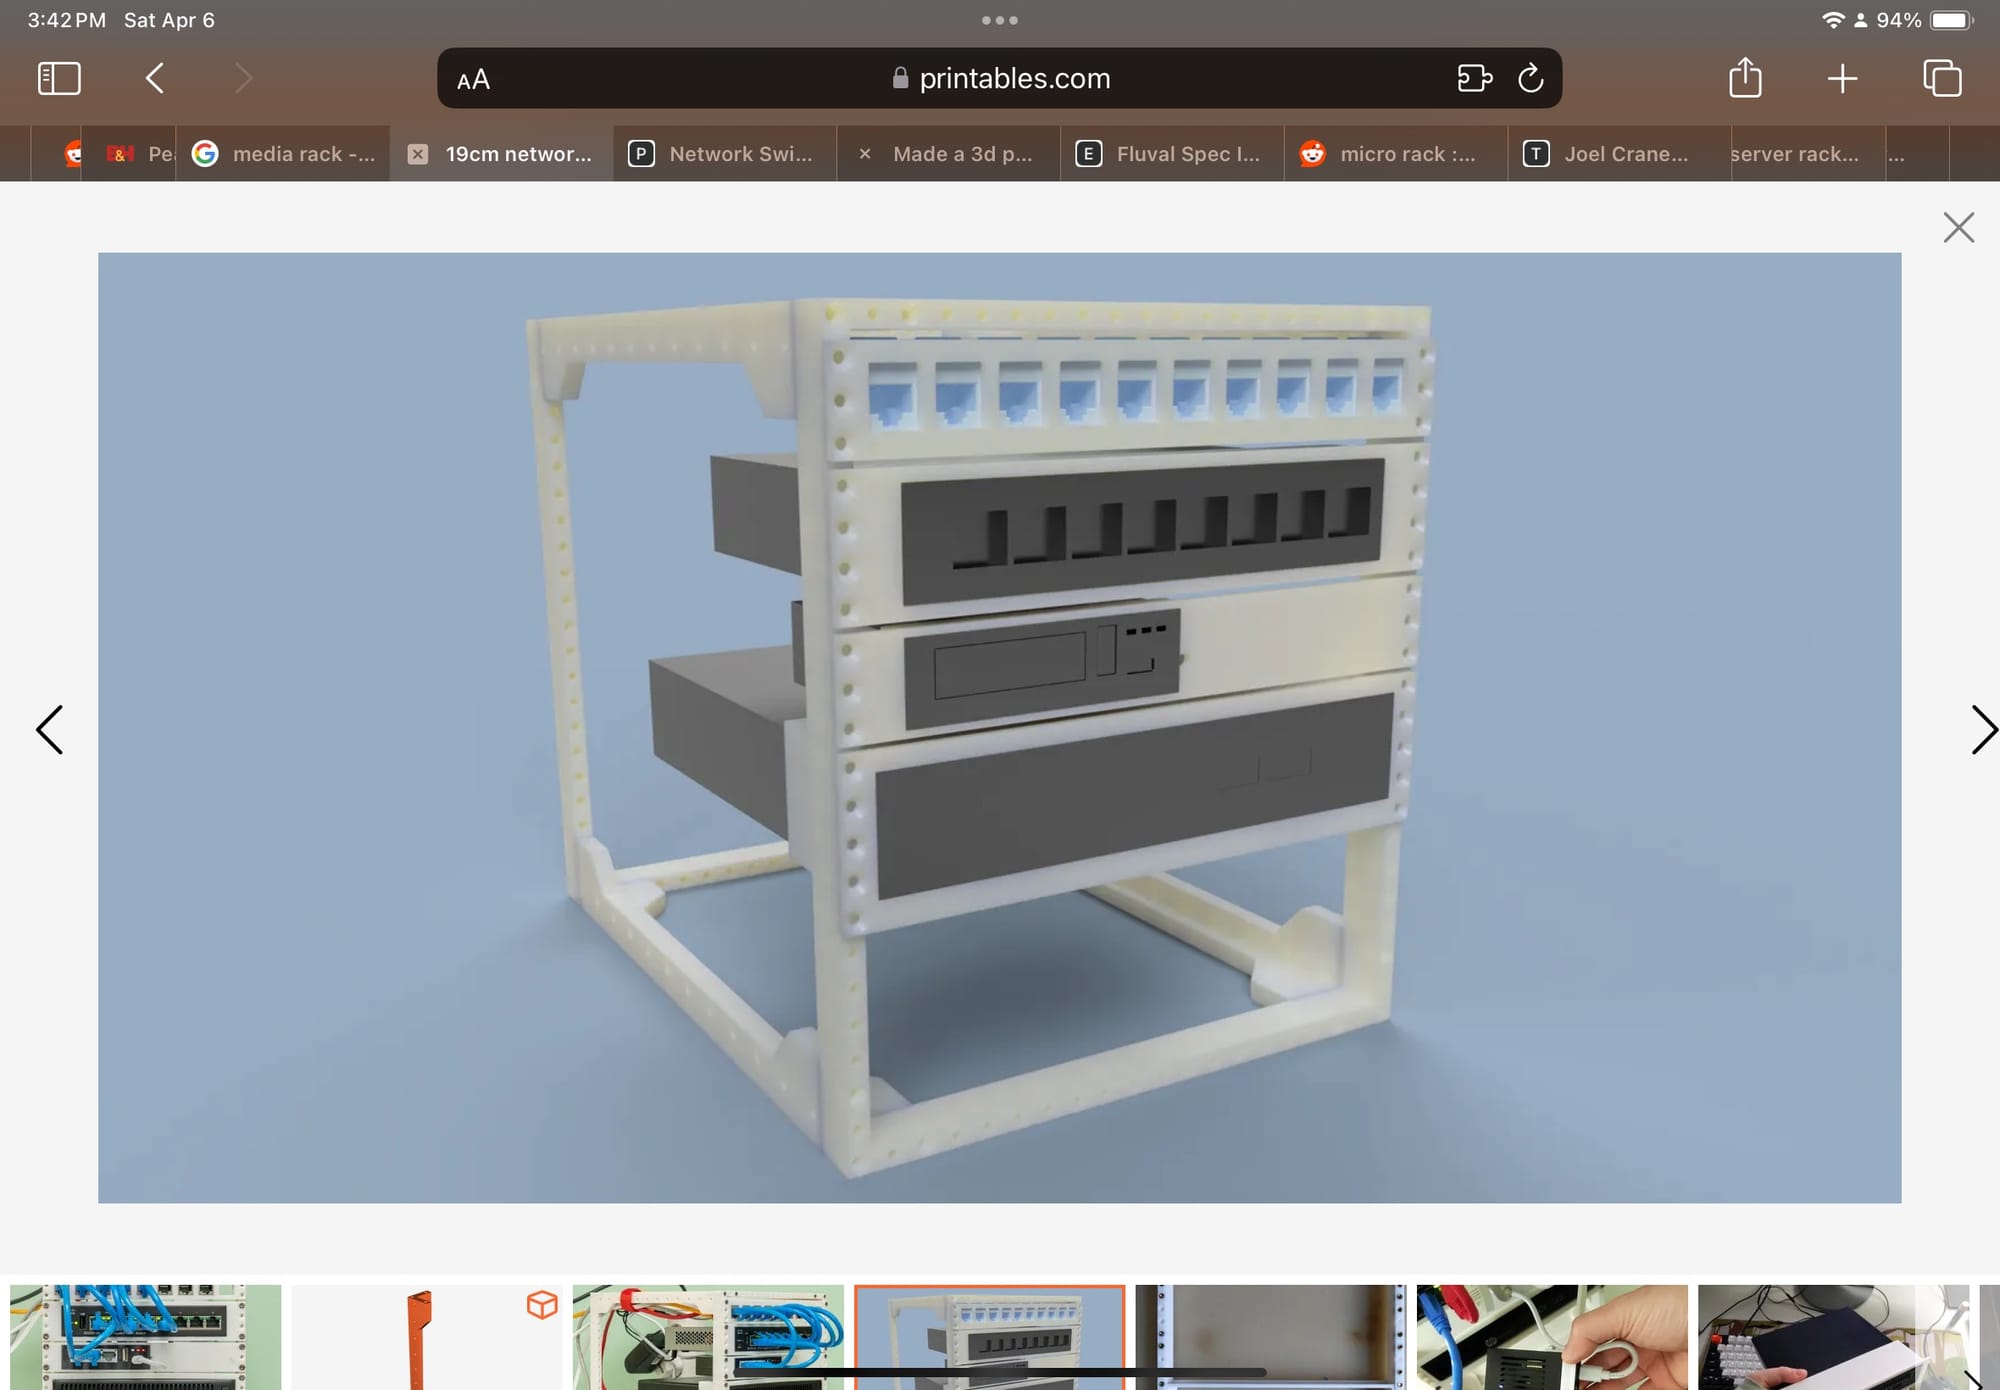
Then I stumbled across some server rack options in the homelab subreddit. I looked at a few different pre-made mini server racks. None of them would fit under my couch or be low-profile enough to sit on one of my office cubes. So then I started browsing printables, and eventually found this 19cm mini server rack.
The modifications
The dimensions of this design were close, but ultimately still didn’t fit in the space that I needed, or support the size of the items I wanted to put in the rack. My 3D design skills are still non-existent, so I reached out to the same Fiverr who helped me with the magsafe dock project.
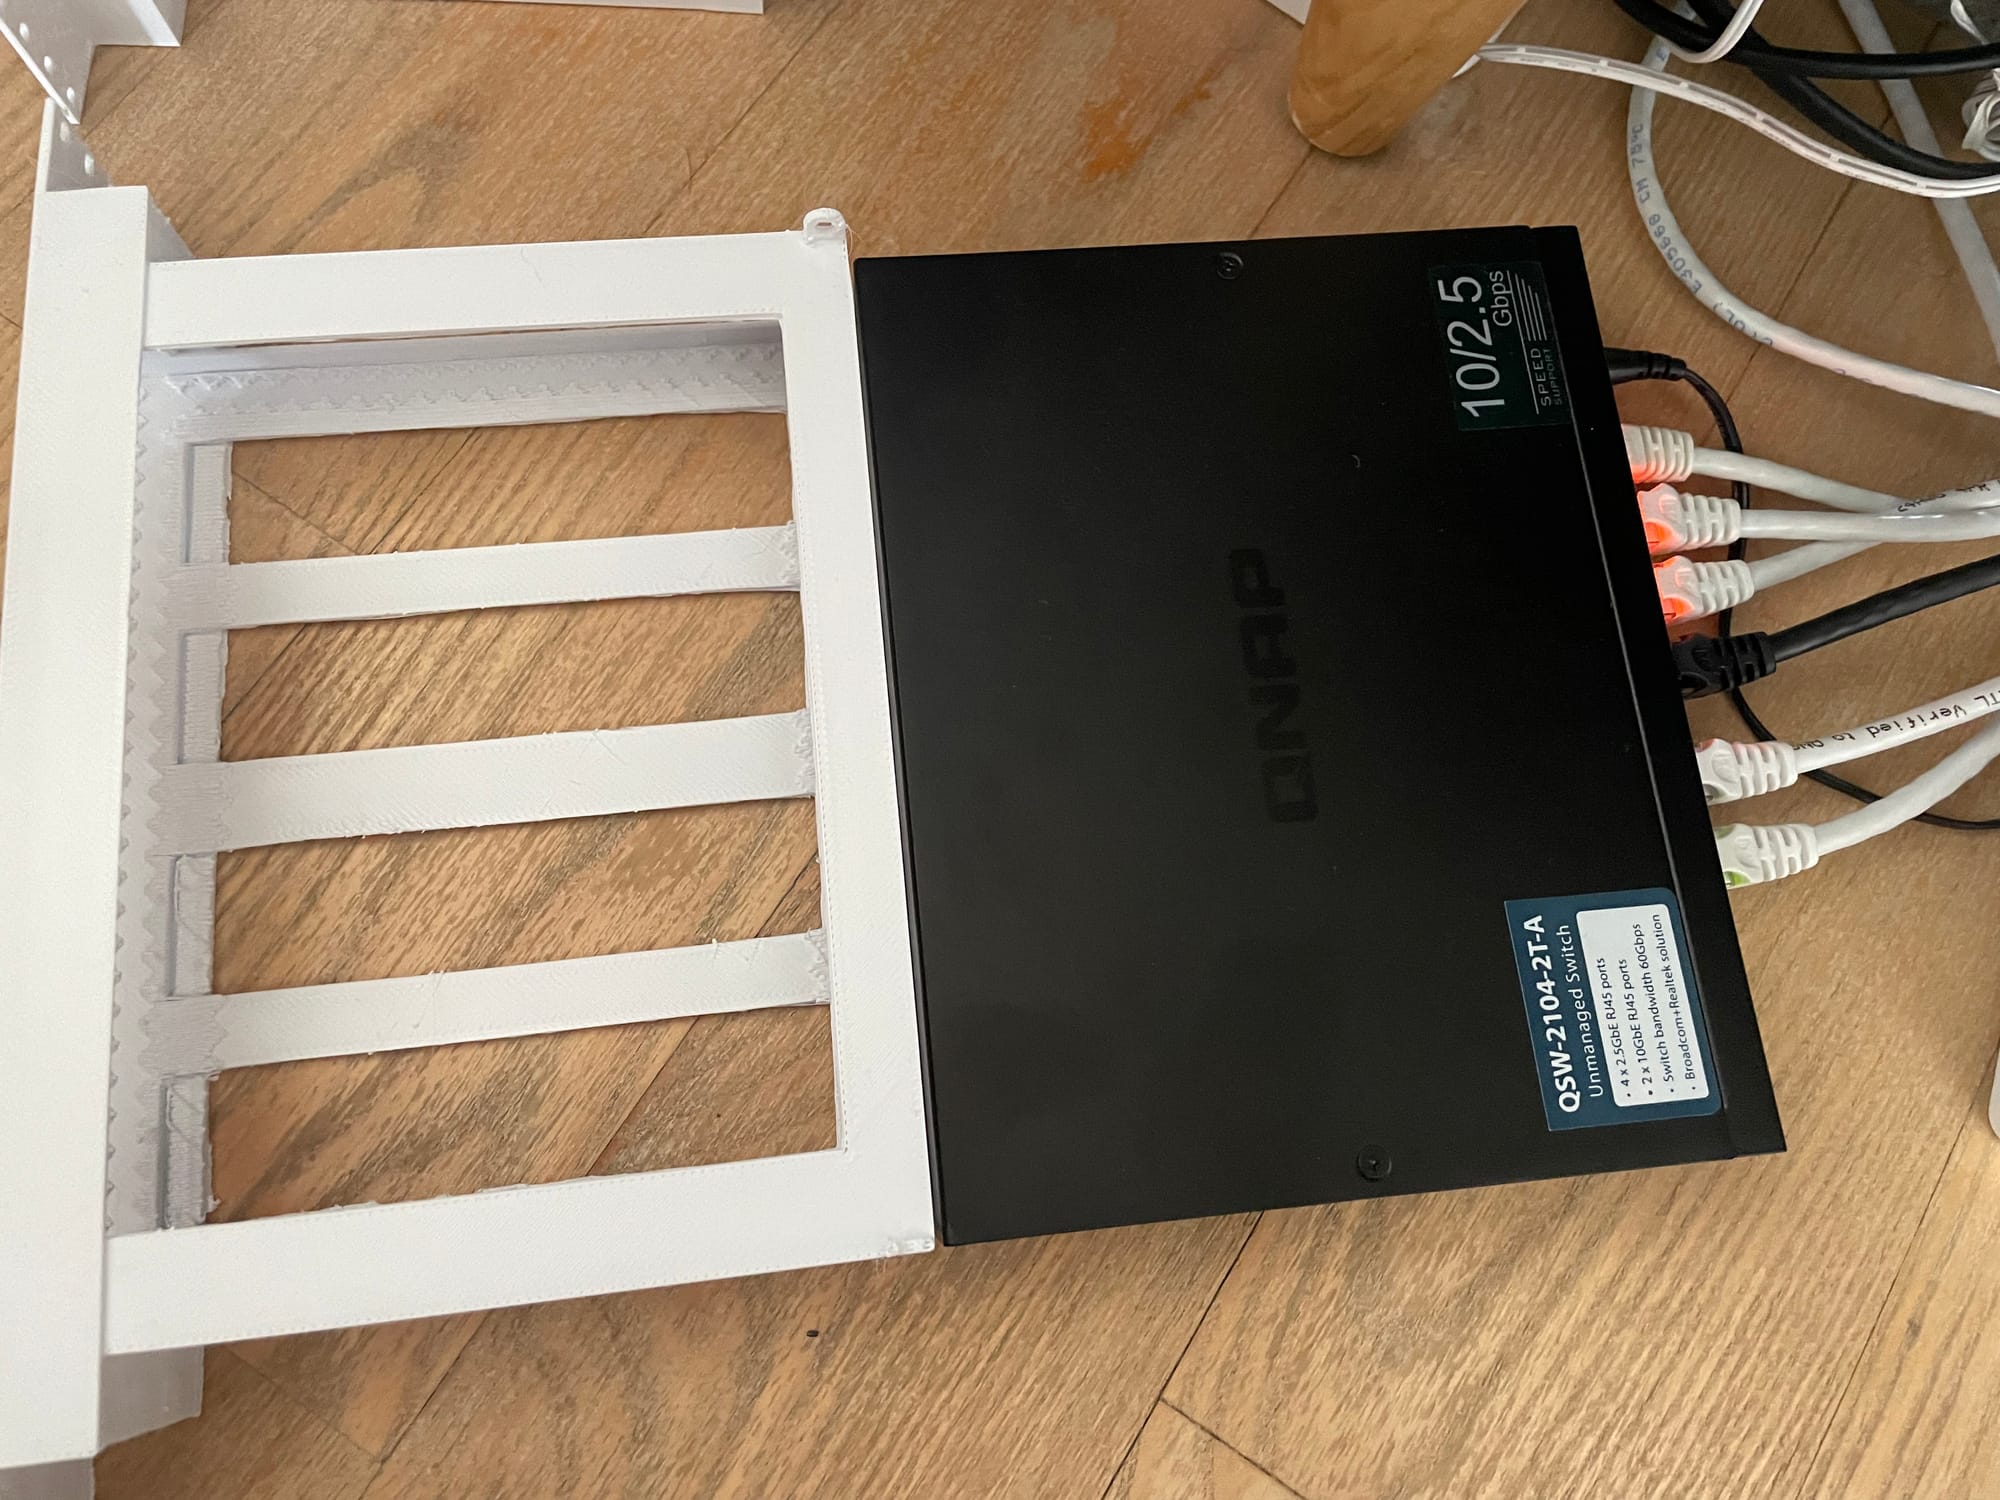
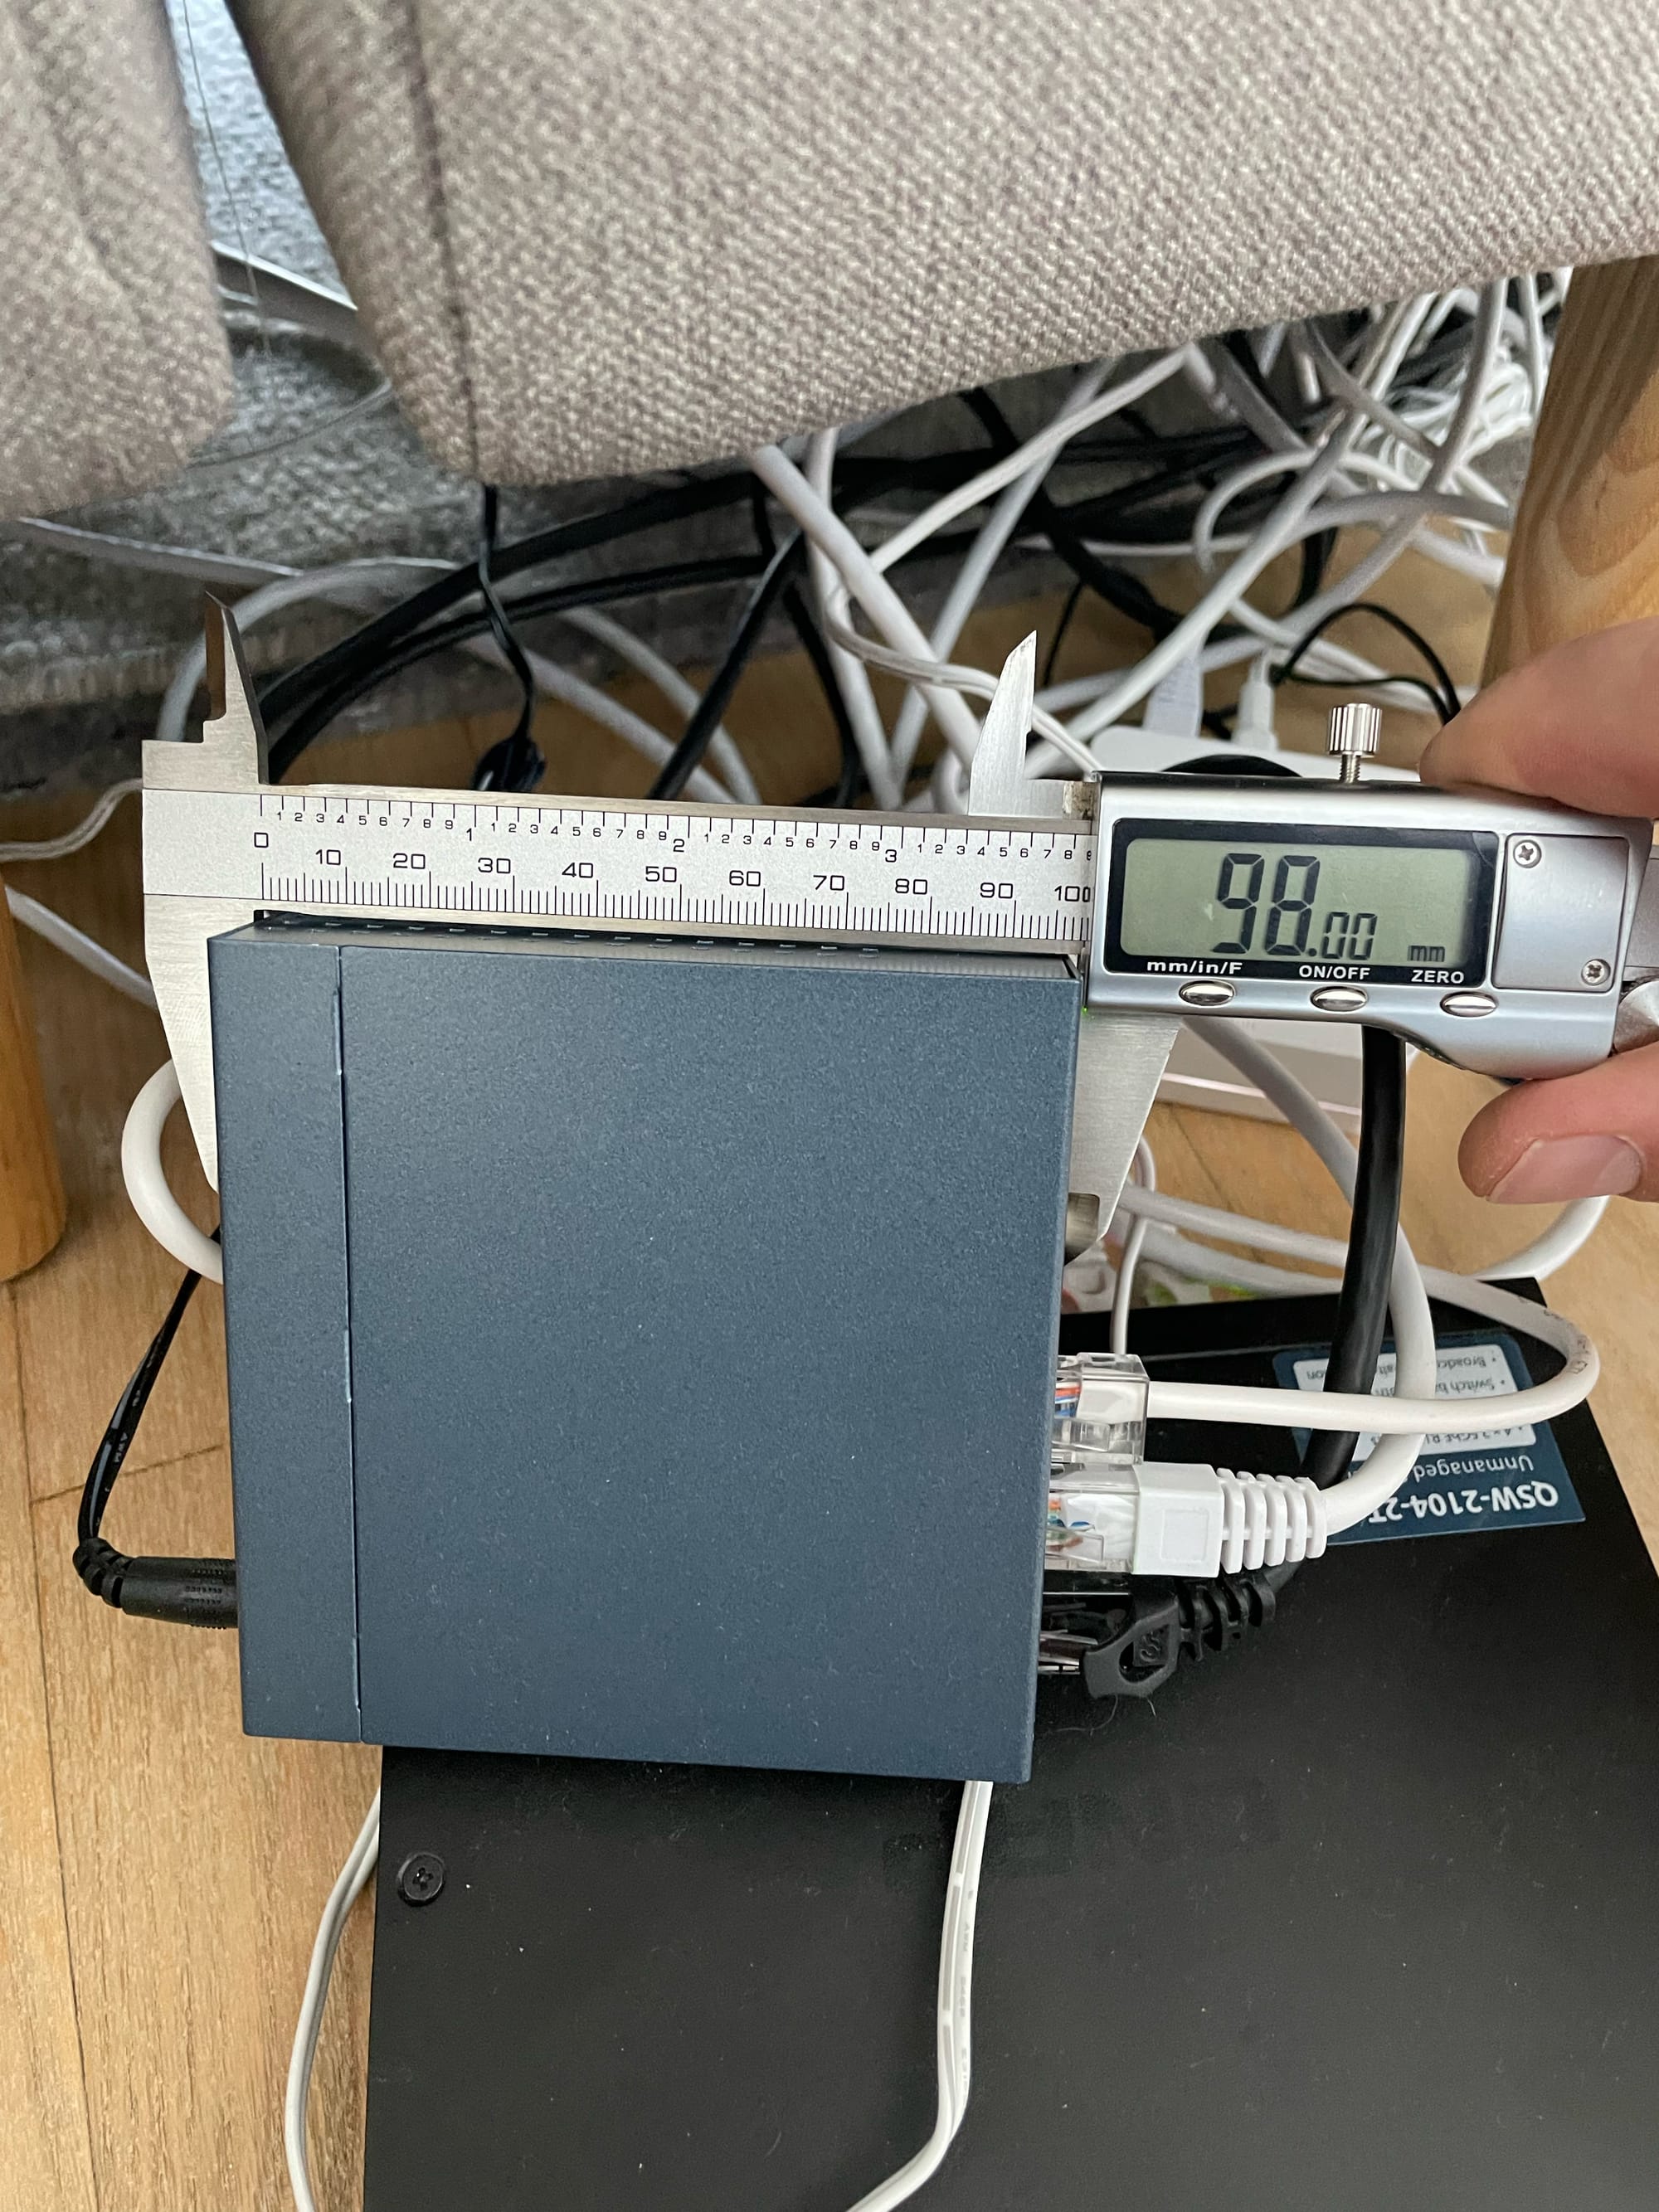
I sent him the new lower dimensions along with measurements for each of components I wanted to put in the rack. My hope was to create custom face plates for each of the devices, so that I would get a perfectly organized rack. As a backup, I also sent measurements for two different sizes of shelves that could just host an assortment of devices.
Iterating
The mount plates immediately jumped out as a problem. None of them fit. It was the same issue I had with my iPhone magsafe dock. After three prints, I still couldn’t get the Tplink router to fit in the mount.
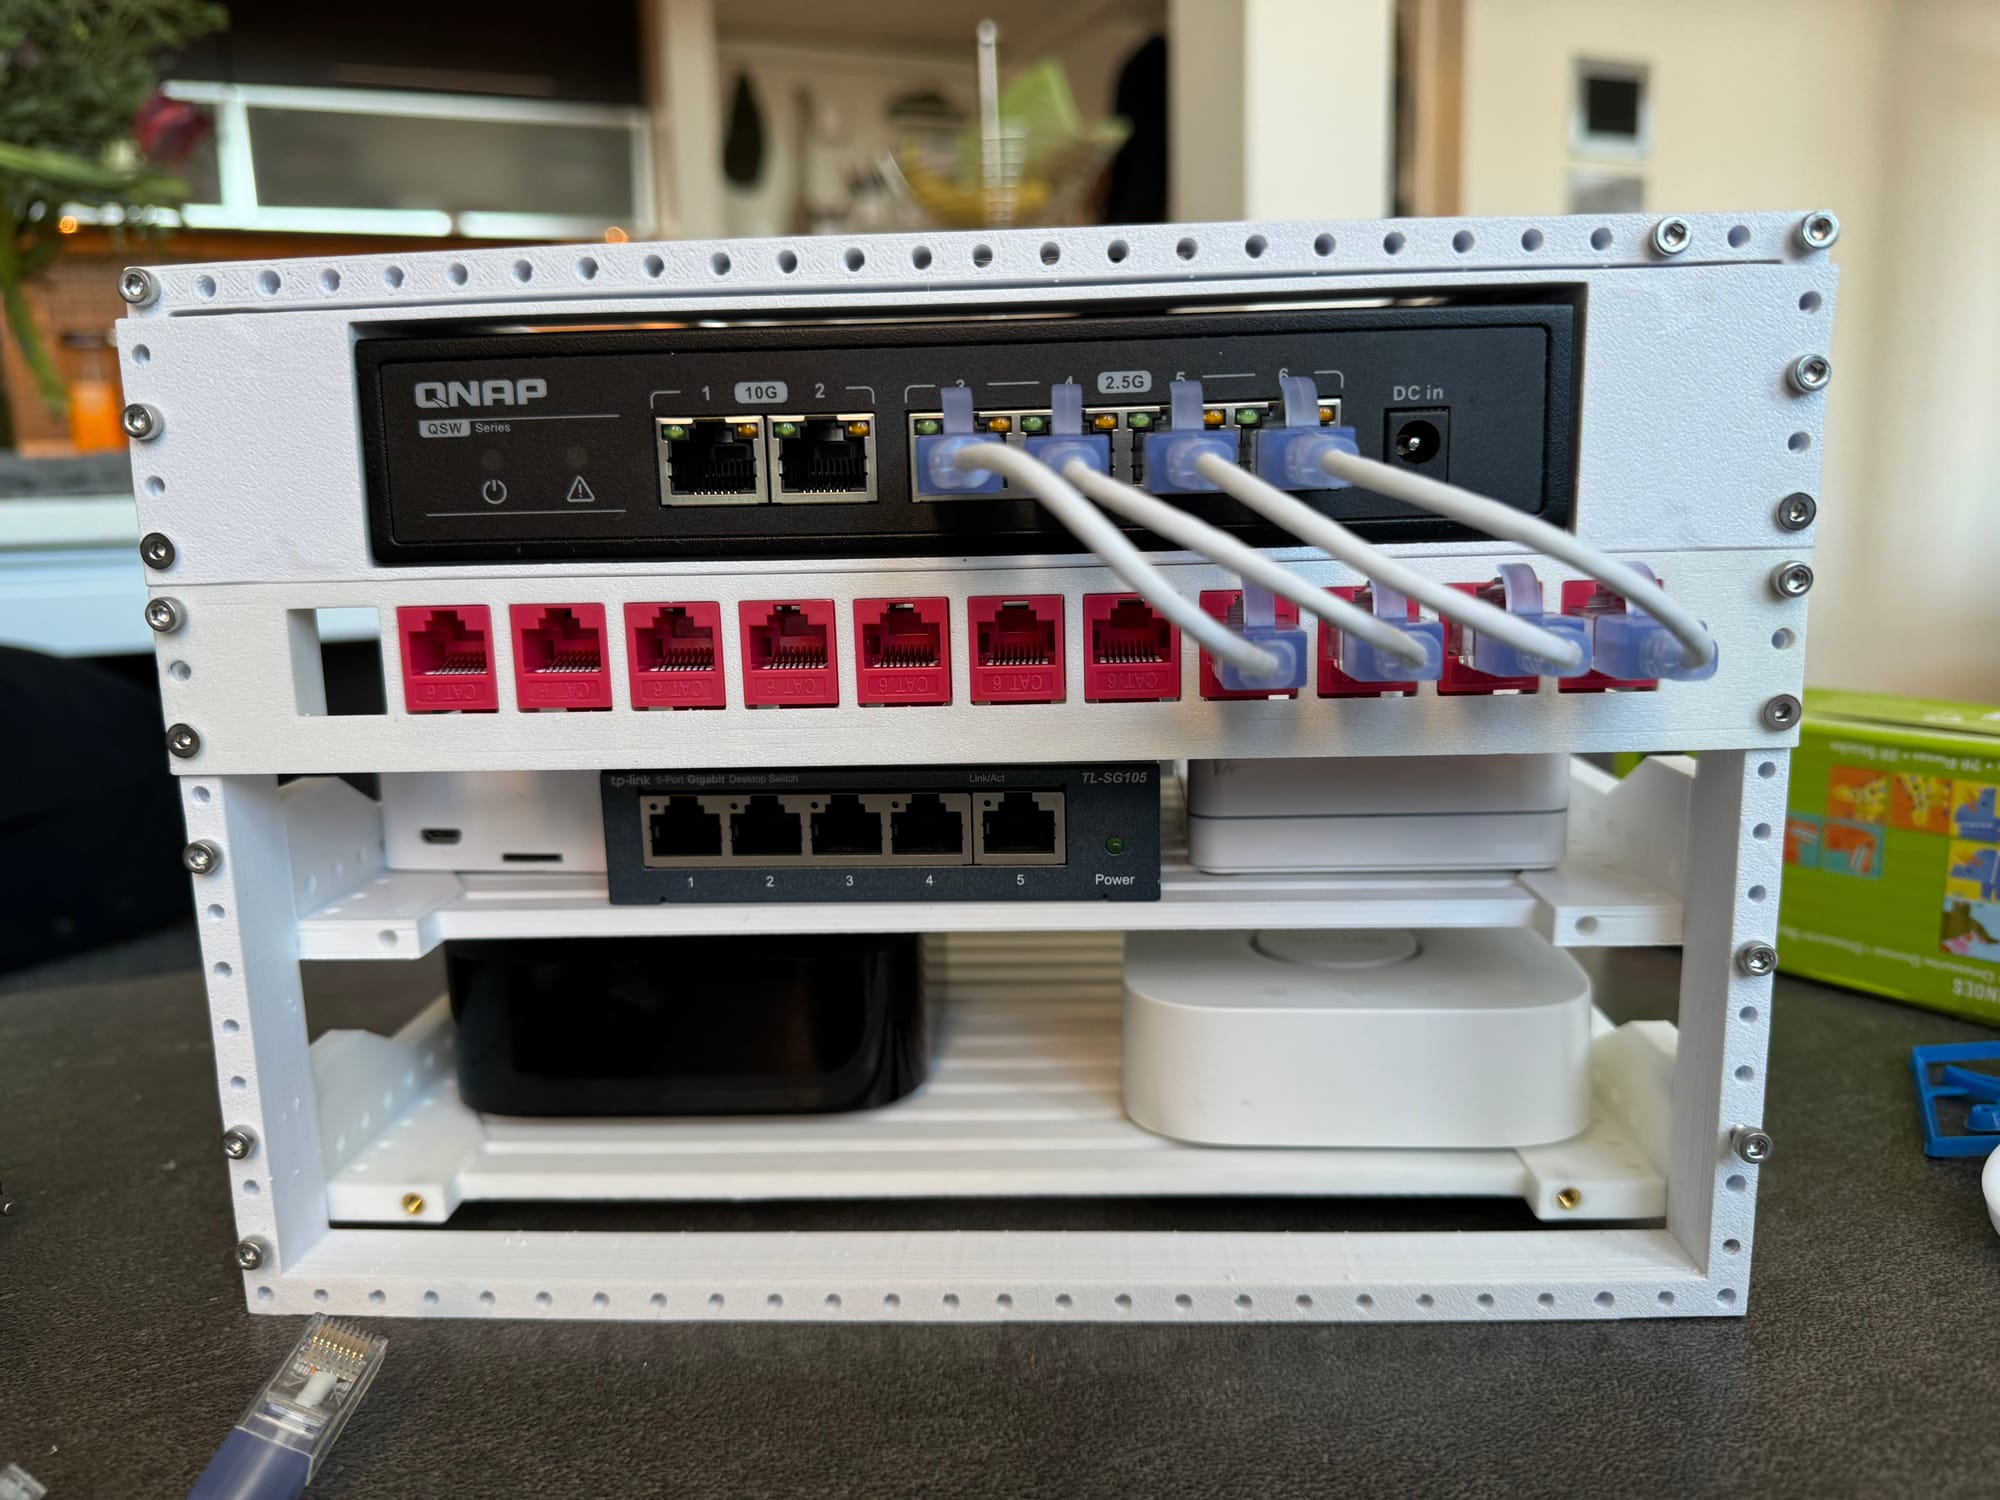
I also made a mistake in the frame. In the first version the screw holes didn’t go all the way to the top, so I wouldn’t be able to mount the keystone patch panel all the way at the top the way I had been planning.
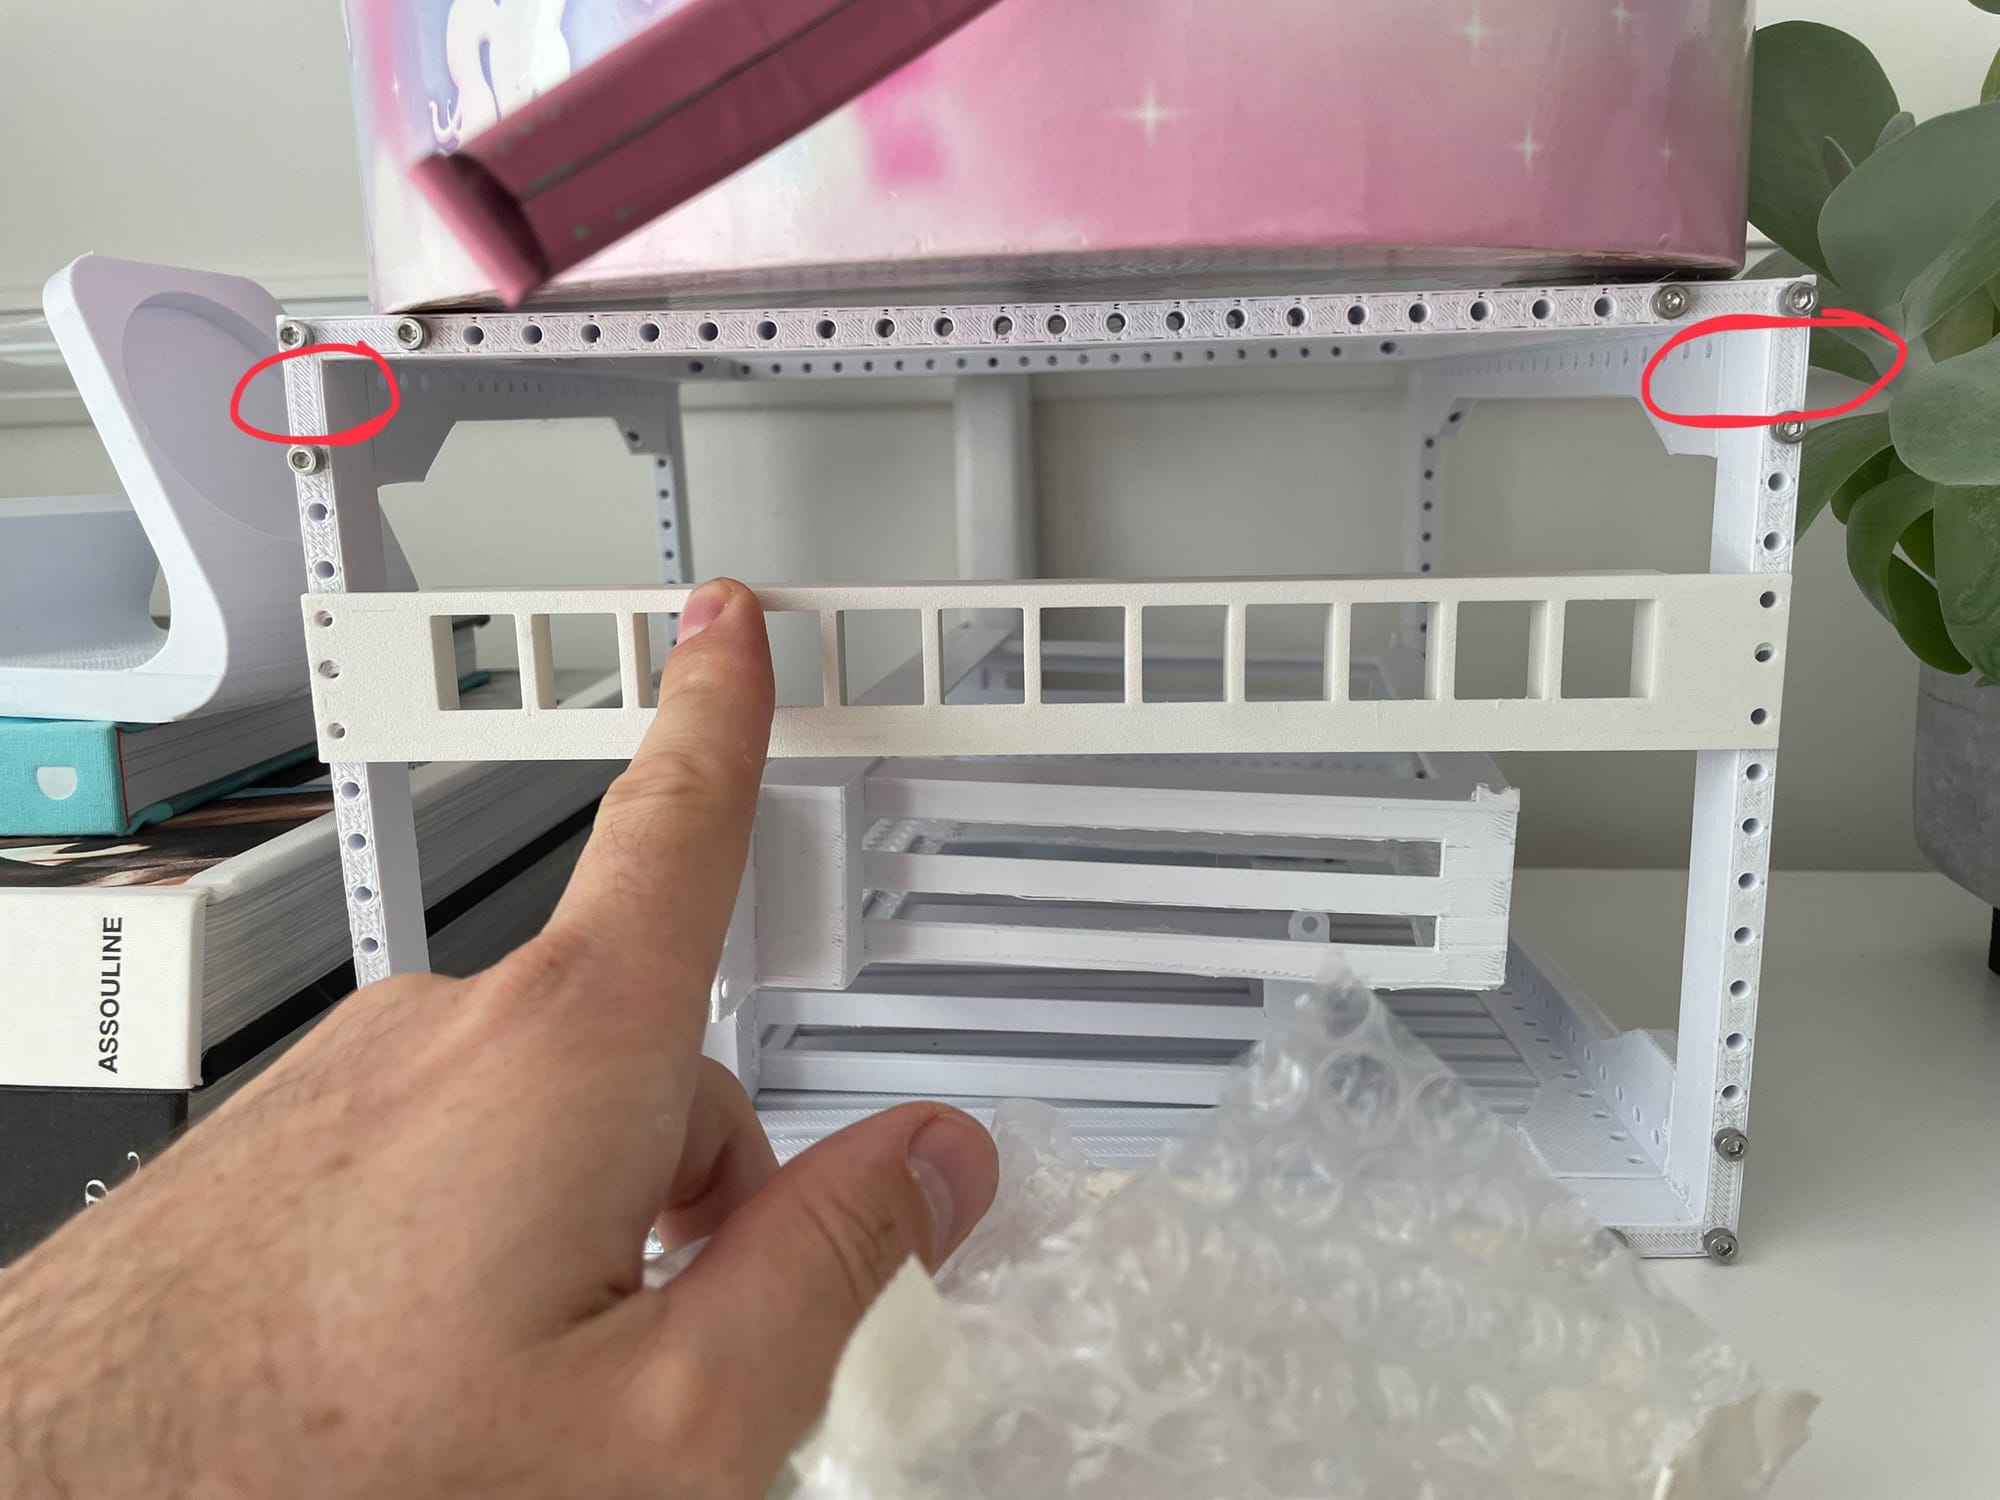
Similar to my first project, I also ran into some quality control issues with the prints. The frame didn’t come out perfectly straight, and the screw holes weren’t completely straight, which required a little drilling to clean up.
Assembly
Given this is only my second 3D printing project — and this design is a lot more complicated — I hadn’t thought through the assembly steps. First, I had to watch Youtube videos on how to add threaded inserts to the prints. I had to buy a soldering pen, find the right threads and figure out how to press them at the right depth.
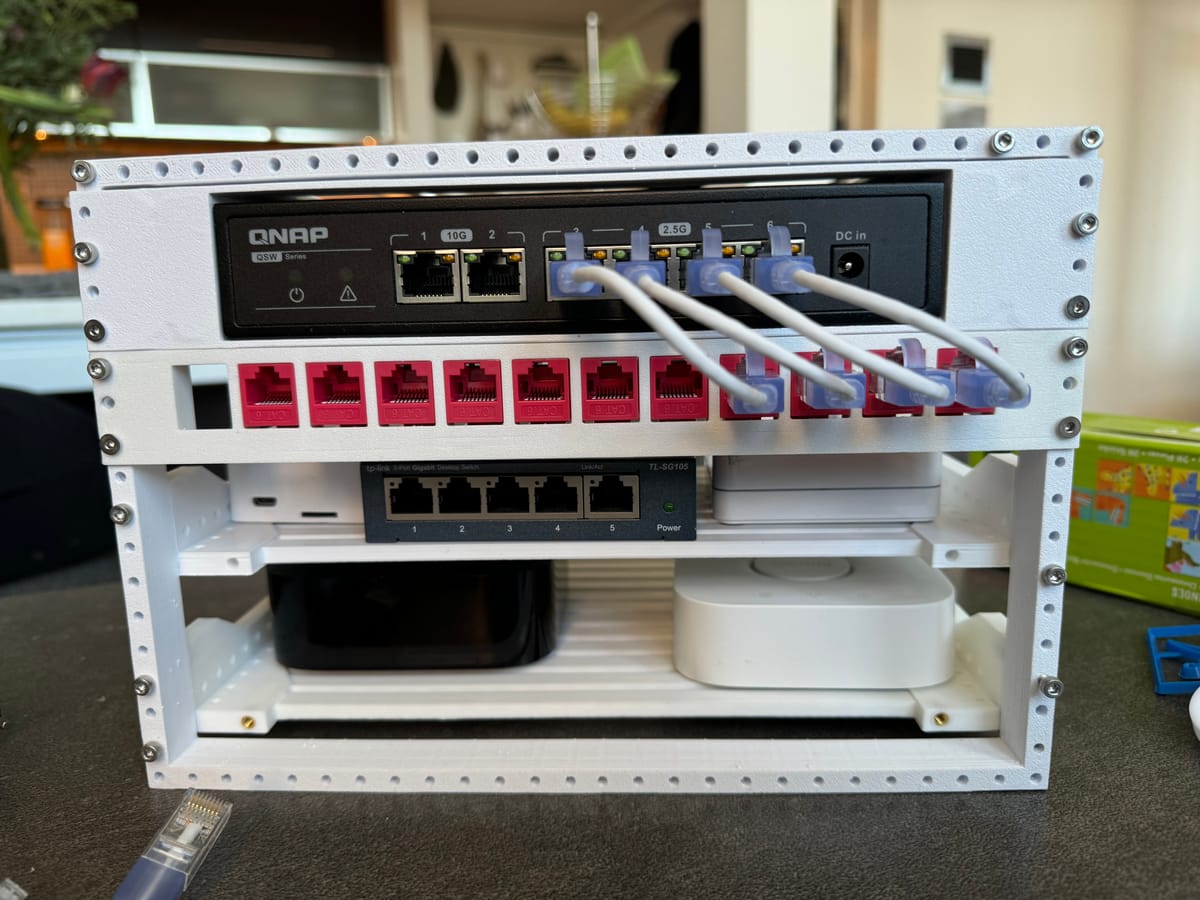
Then I had to think through cable management for the ethernet cables. I needed to make sure that I would have ethernet cables long enough to reach from the top shelf to the bottom shelf, and get around the back of the shelves.
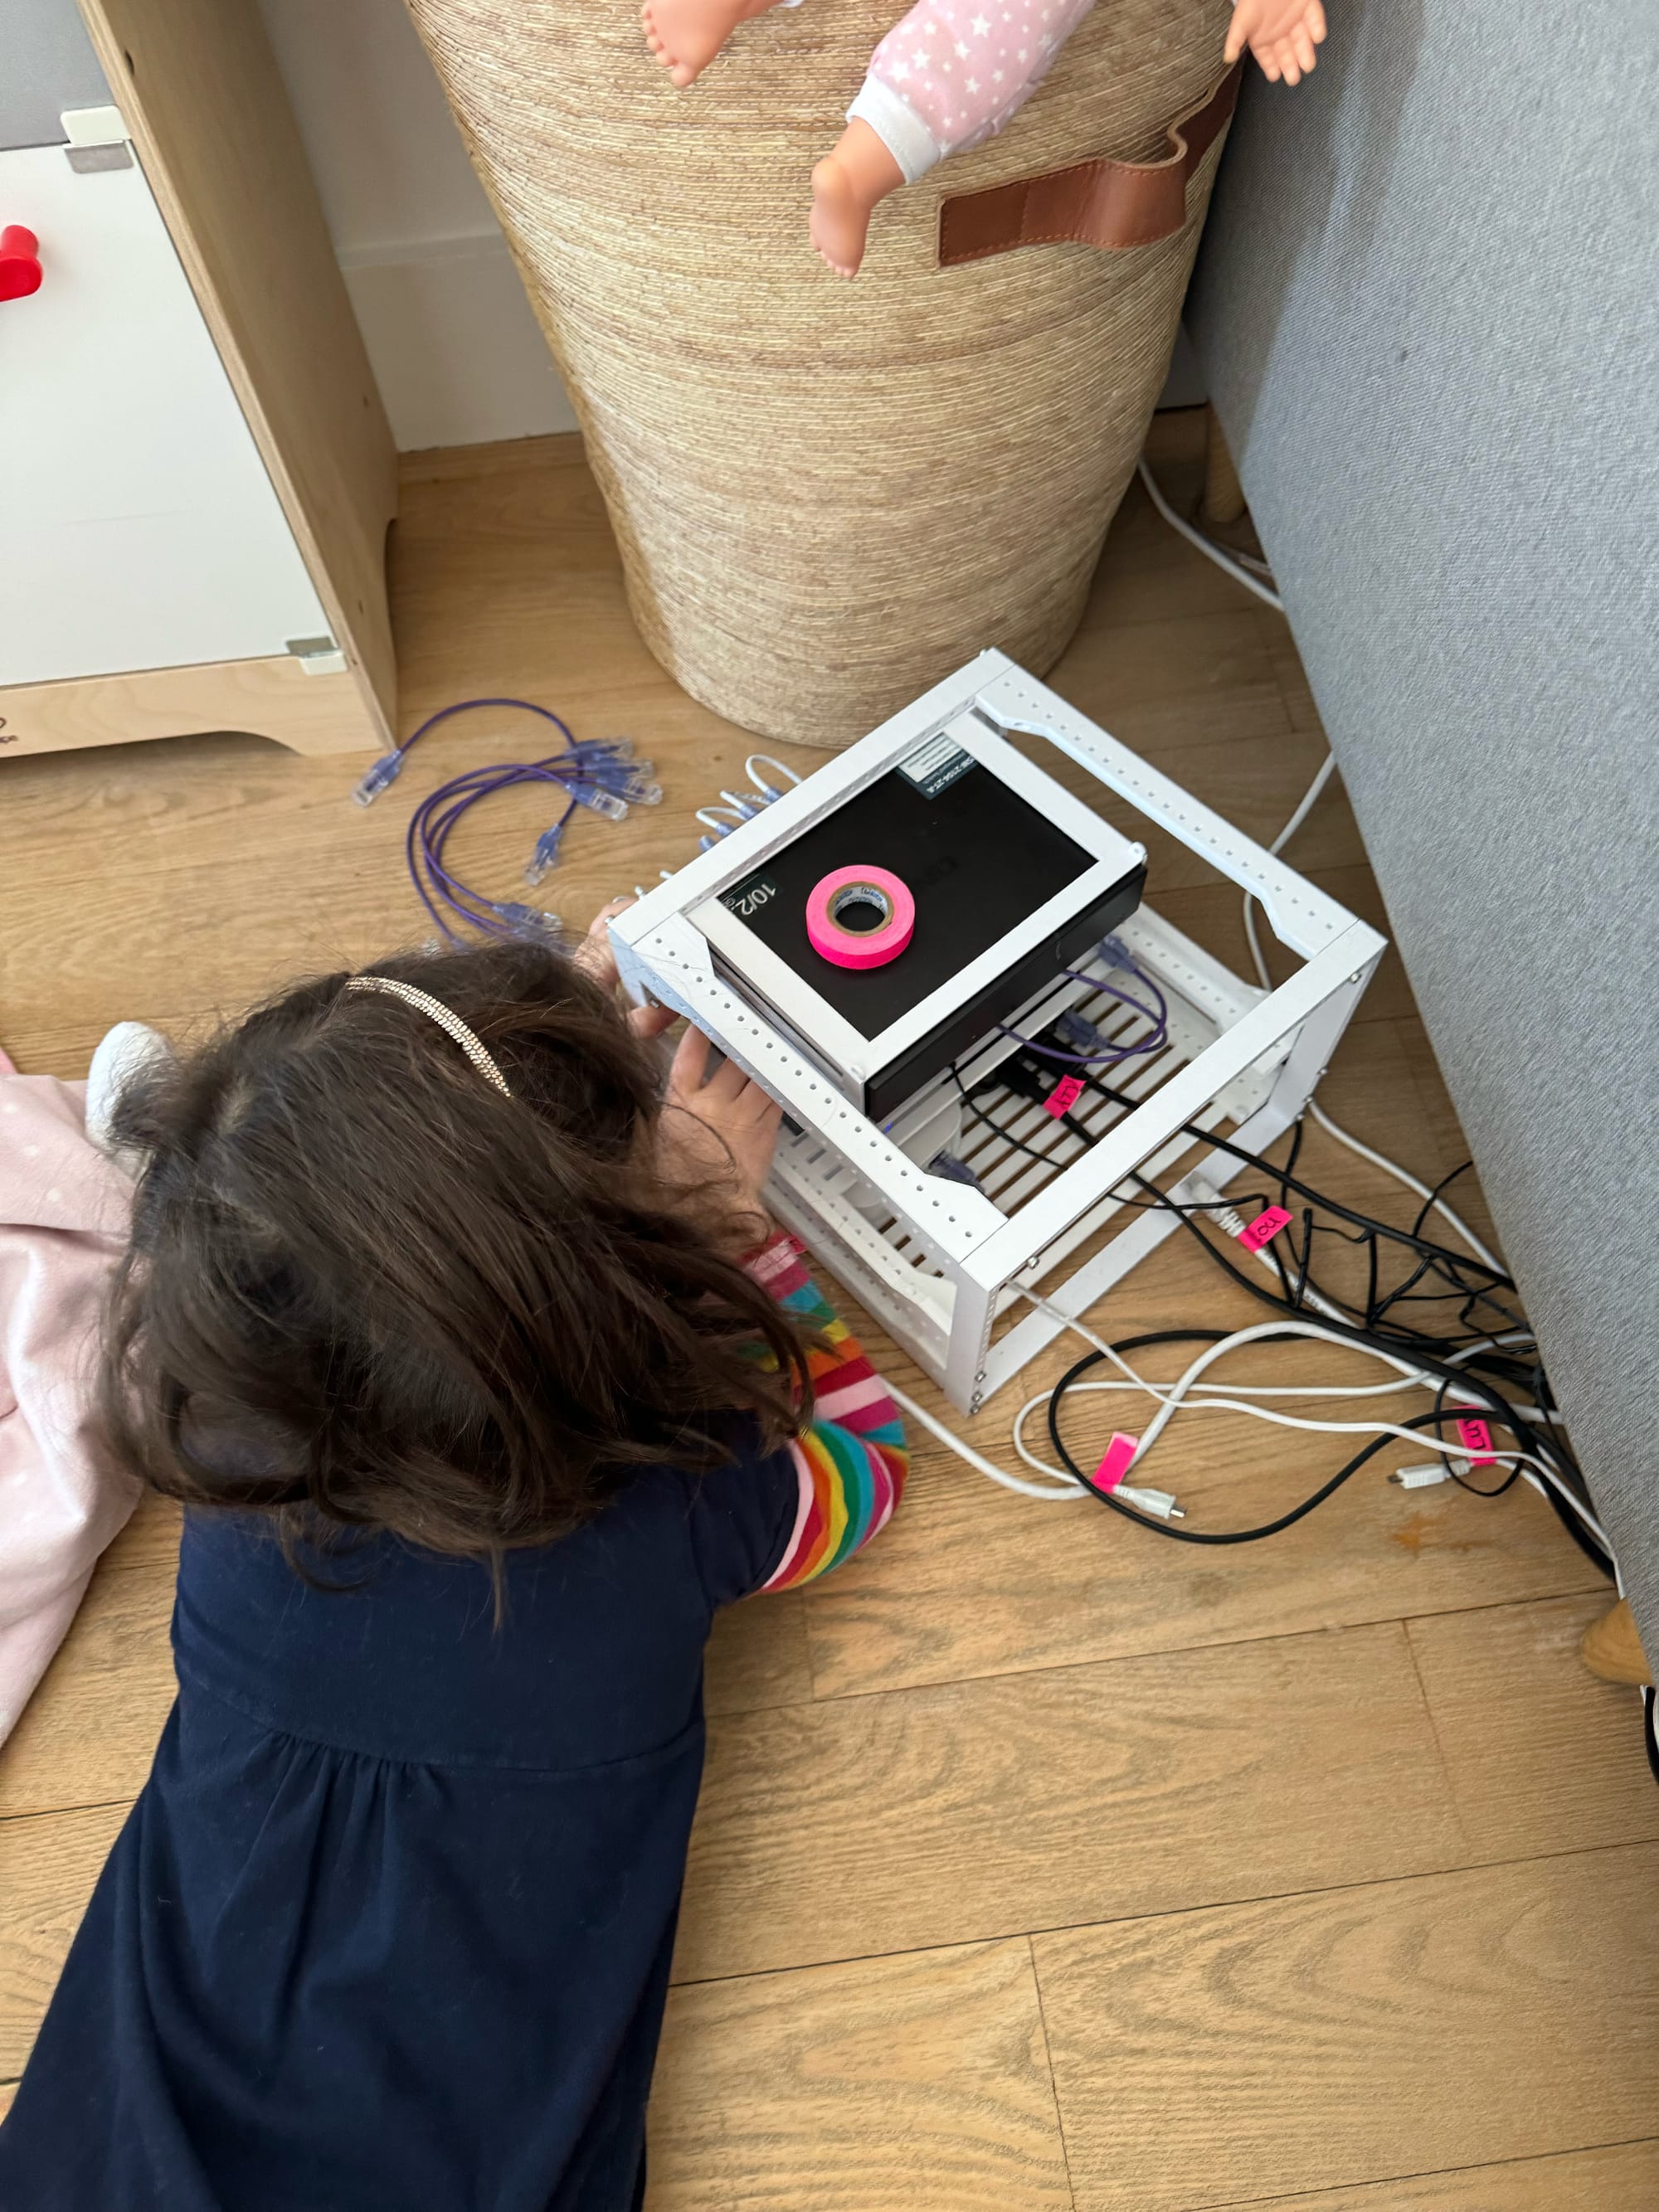
Last, I had to pick fun colors for these things because my daughter is very curious about projects like this, and if I make them pink and purple, she’ll be even more likely to get involved
Lessons Learned
1) Cost goes up with size.
I'm still using Treatstock, the 3D print network for all my printing. I have no space and no ventilation to have a printer in my apartment. Treakstock was quite budget-friendly for my magsafe iPhone dock project ($12-14 per print), but these costs did not scale up effectively. The parts for the server rack were much longer, and took a lot longer to print, so the costs went up quite a bit. Each rack here cost closer to $120 to print, once you include reprints, which definitely wrecked my budget.
2) Custom face mounts for each piece of gear requires real precision.
I obviously fell in love with the idea of having a really clean server rack with custom panels that fit each component perfectly. But my engineering and printing didn’t match my ambition. After three failed attempts to get the mount to fit my router… i decided that the costs were going to be too much, and that it was a safer bet to just stick with the shelves.
3) Strength is a concern
In my MagSafe build, I didn’t really have to think about strength. The design was a solid piece of plastic, and a phone is quite light. In this build, the shelves and face mounts span nine inches, and you can see the material bend and sag under the weight.
I have no idea how to verify how strong the plastic is, so I’m just eye-balling it. Only time will tell if I got it right
4) Threaded inserts were quite easy
I had never used a soldering iron to insert thread, but it turned out to be pretty quick and easy. The soldering iron was cheap, the inserts where easy to find on amazon, and the process was painless. The only thing to watch out for is the fumes in the house that come from heating up the plastic, so do it in a room with a vent or an open window.
Final Thoughts
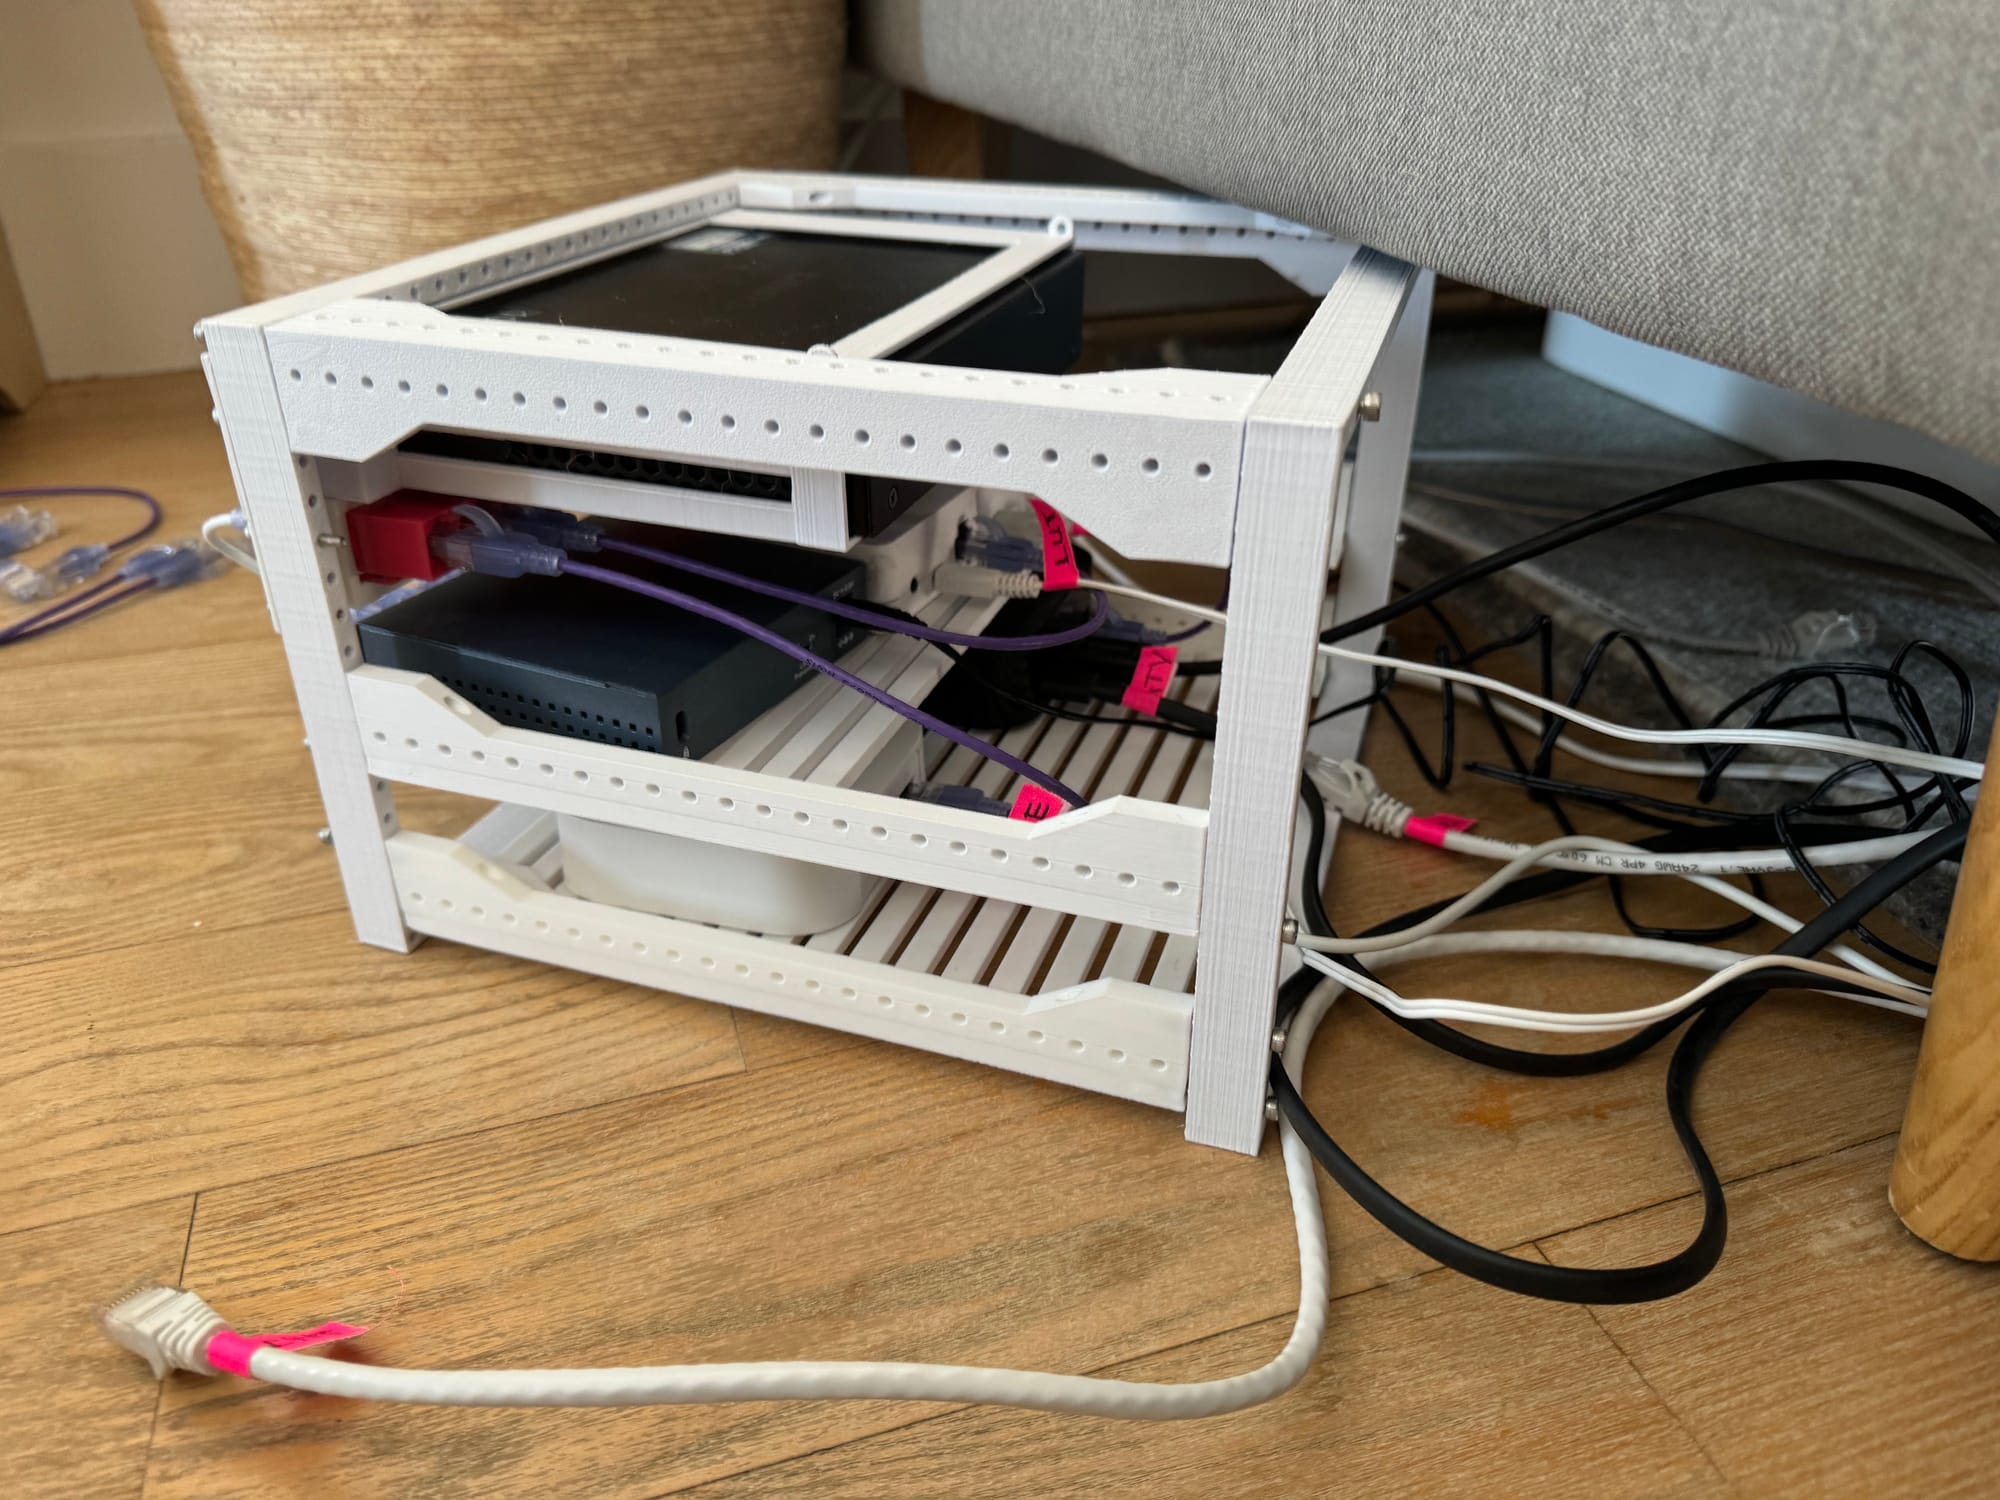
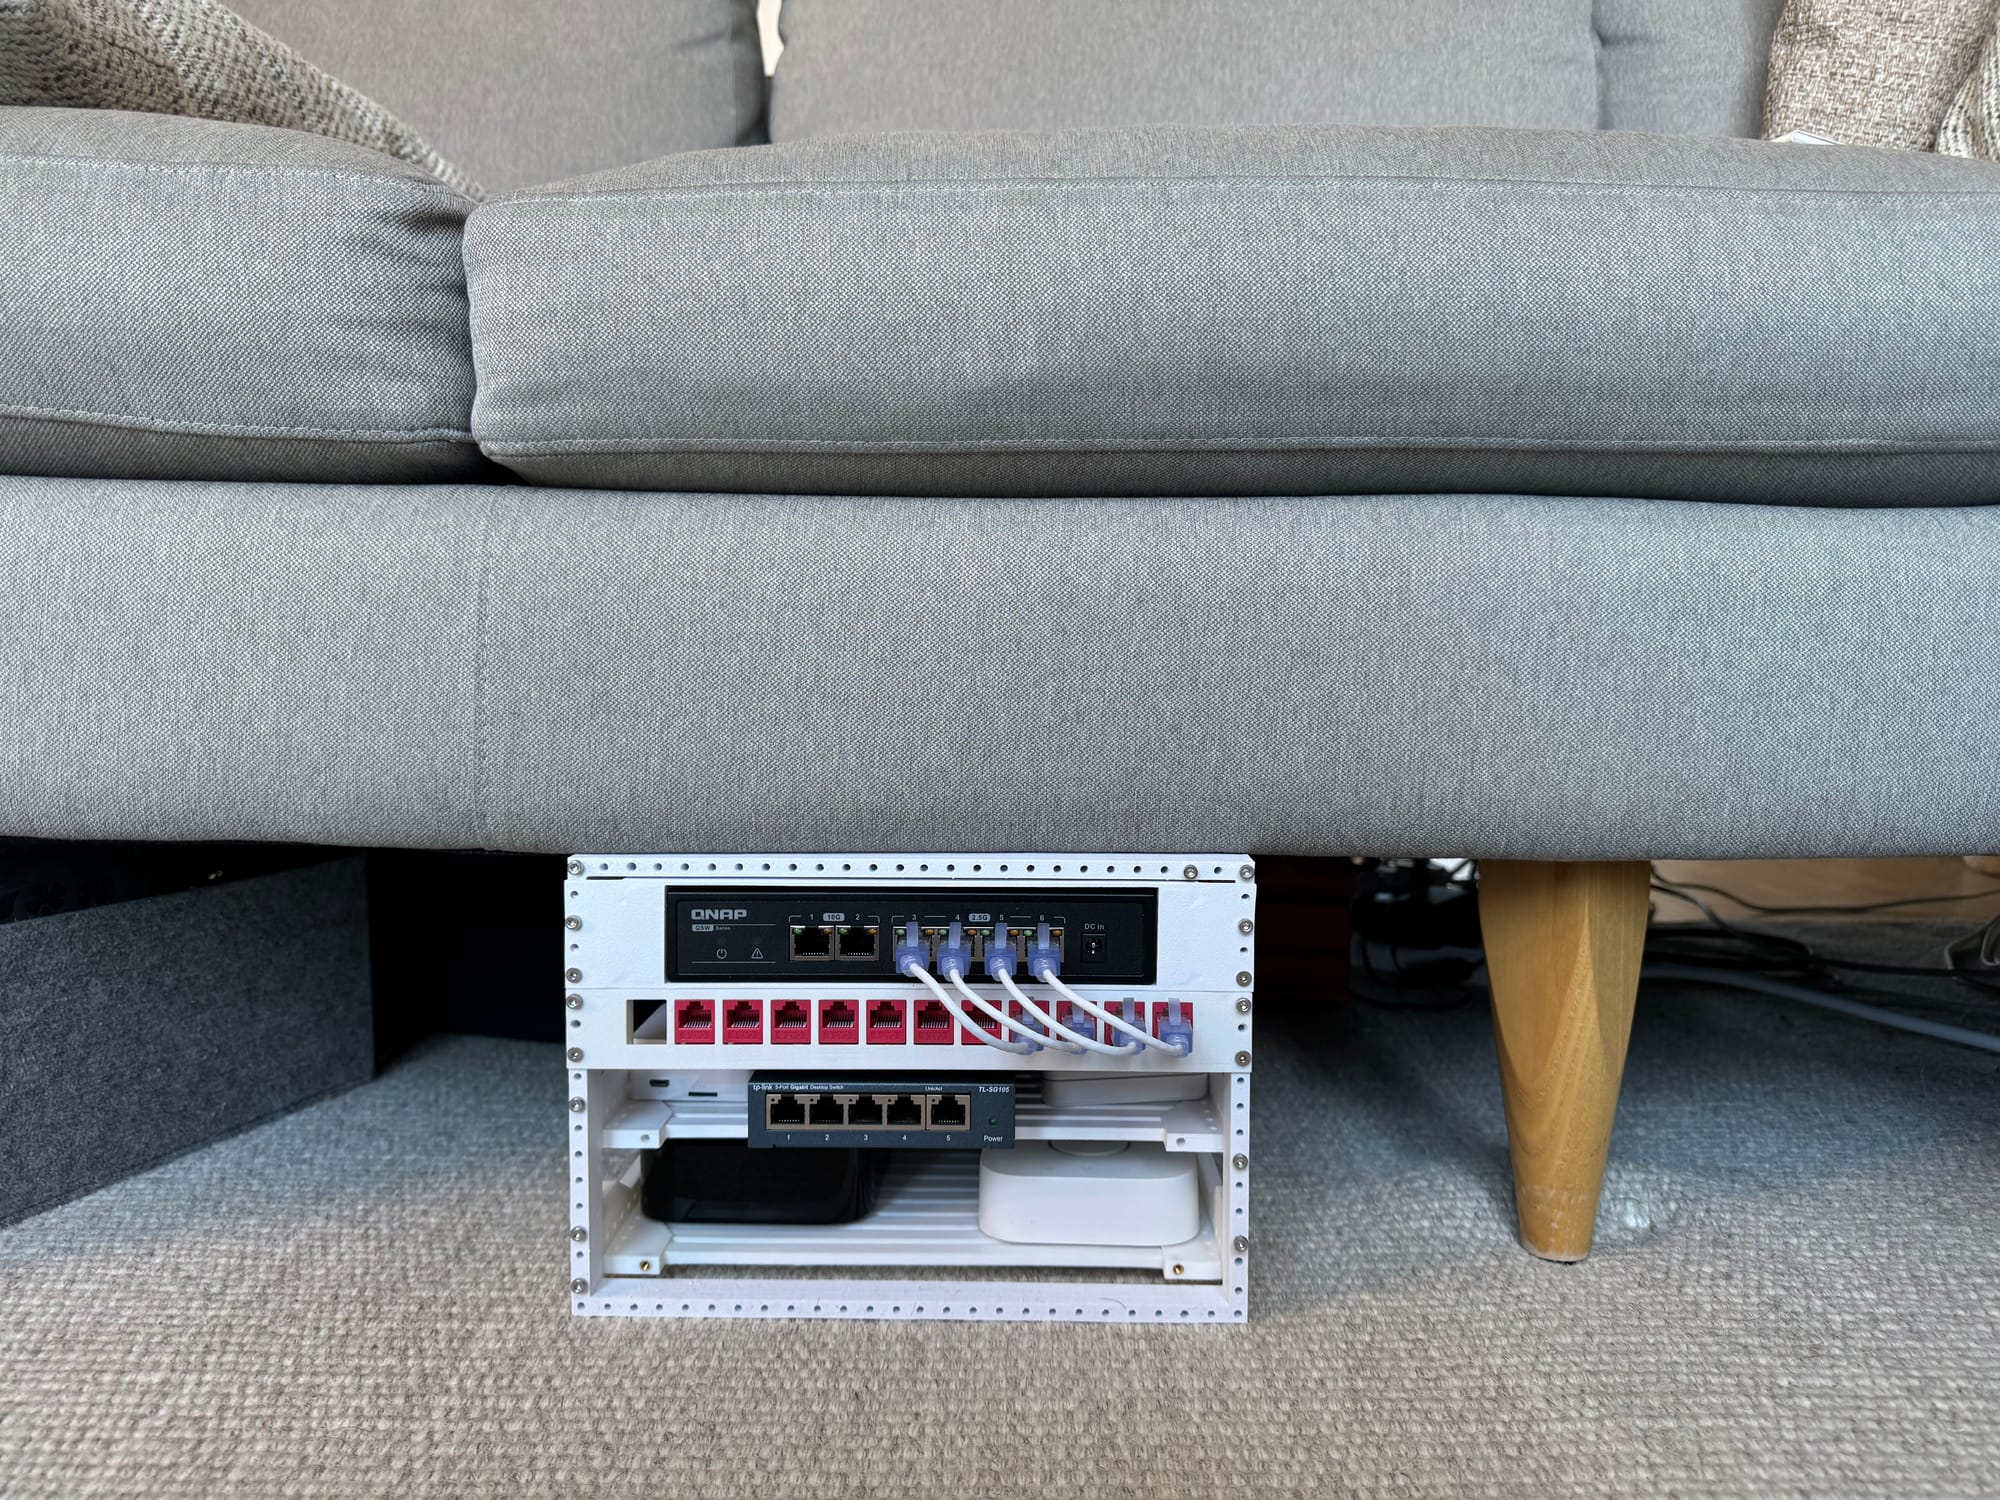
I’m thrilled with how it turned out. If I had more time and more budget to blow on this, I’d probably get it looking even slicker and do full custom mounts for every device. As things stand it solves my problem of the rats nest of wires under my couch. It cleaned things up in a big way, and it makes working on any device in the rack a lot easier to grab and pull out.
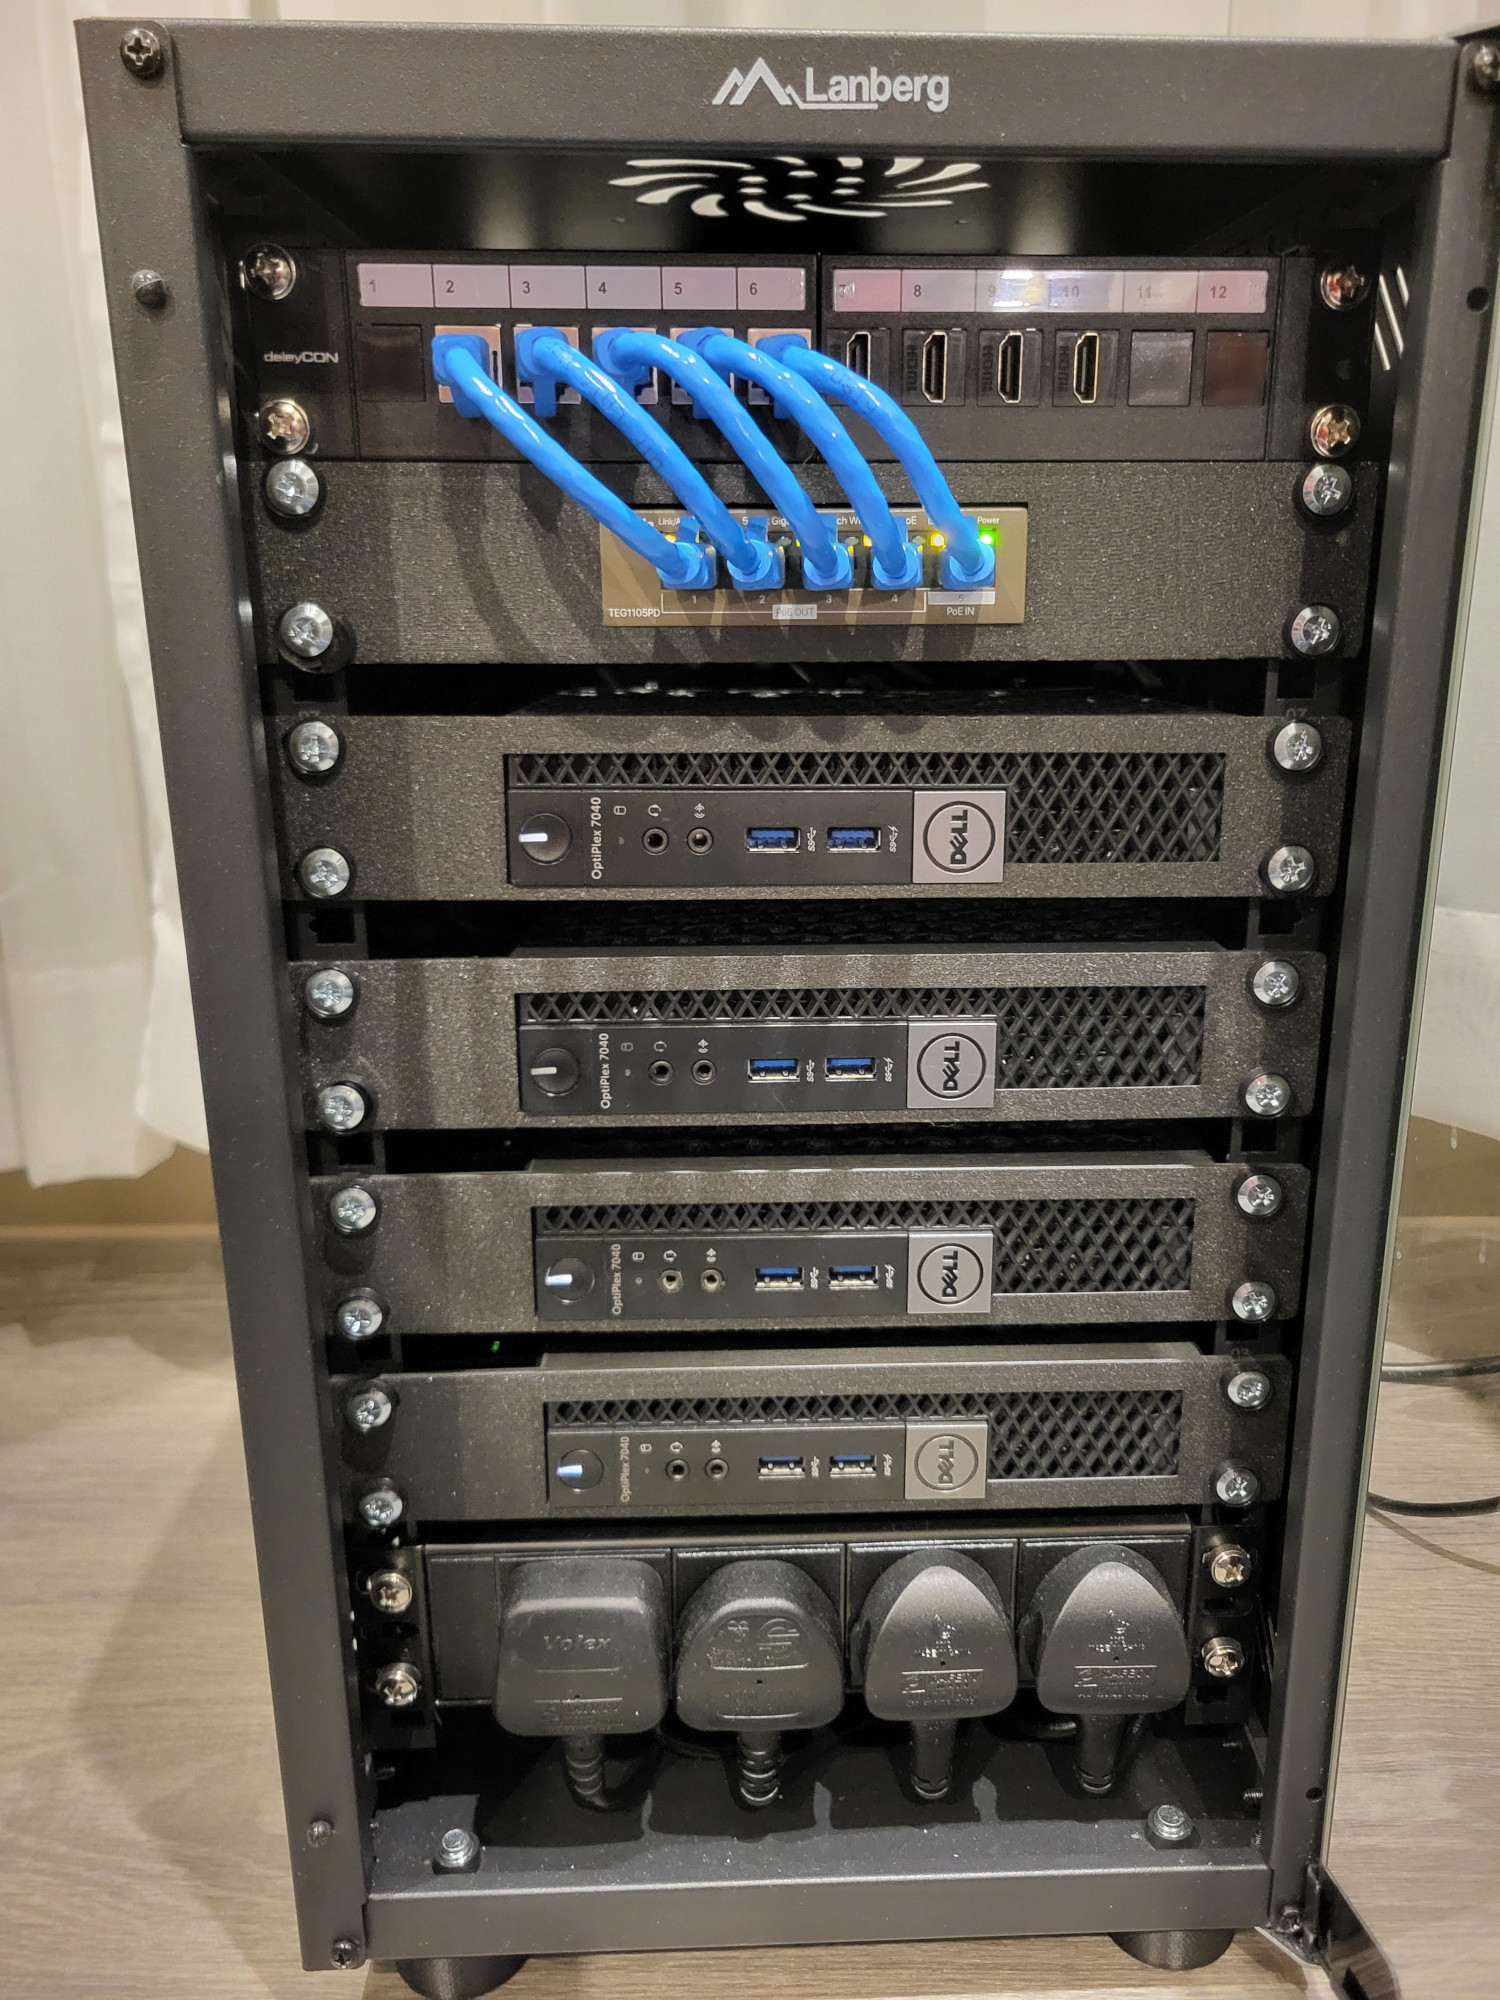
Now that the media rack is setup, I’d like to get a second rack setup with the gear that didn’t fit on the first rack. This gear is mostly homelab equipment, it includes an old Mac mini, a GMK Mini PC hosting home assistant, and a Zimablade that I’ve been using to test building my own NAS.
Here are the files for the mini rack, hopefully someone else can benefit from all my trial and error!